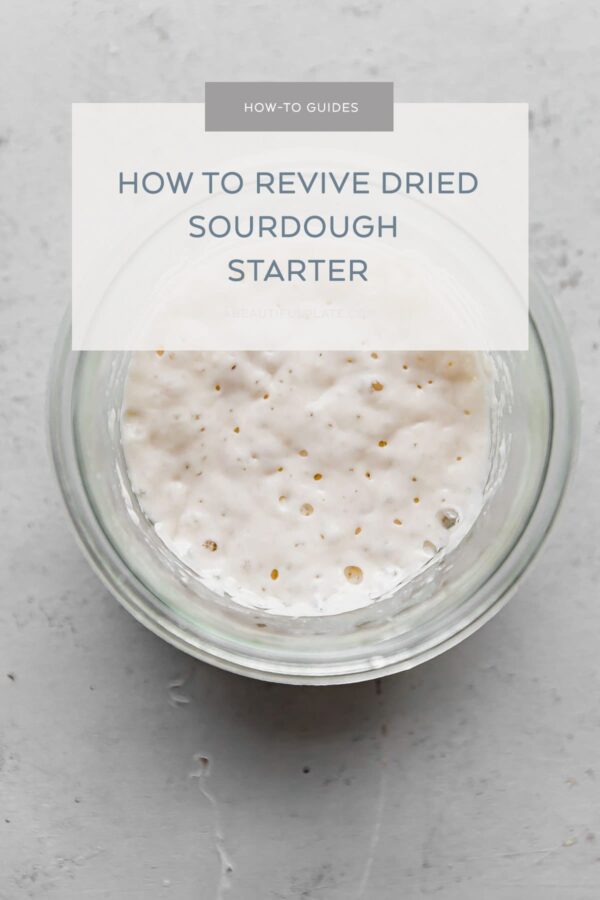
How to Revive Dried Sourdough Starter
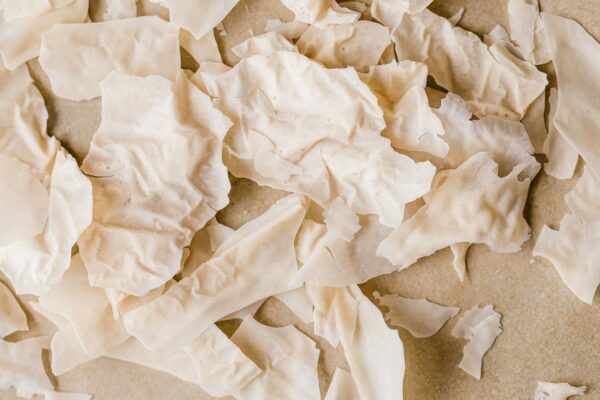
Once you’ve learned how to dry sourdough starter for long-term storage or gifting to others, you’ll need to learn how to revive it!
Today’s step-by-step guide walks you through how to rehydrate dried sourdough starter to full strength in less than a week.
You’ll find photos and detailed observation notes below, as well as a printable guide at the bottom of this post.
To reduce overall waste, this guide uses very small quantities of dried sourdough starter, flour, and water. Be sure to have basic kitchen scale on hand before getting started.
Once your starter is rehydrated and back to full strength, you can always scale up your sourdough starter (using the same feeding ratio) as needed for baking. For more details, be sure to check out my sourdough starter troubleshooting guide.
Equipment Recommendations:
- glass jar(s) with a lid(s) (*I recommend 10 oz Weck jars for this guide)
- small spatula
- basic kitchen scale
Ingredients You’ll Need:
- dried sourdough starter
- unbleached bread flour (*I recommend King Arthur brand)
- filtered water
Day One – Morning:
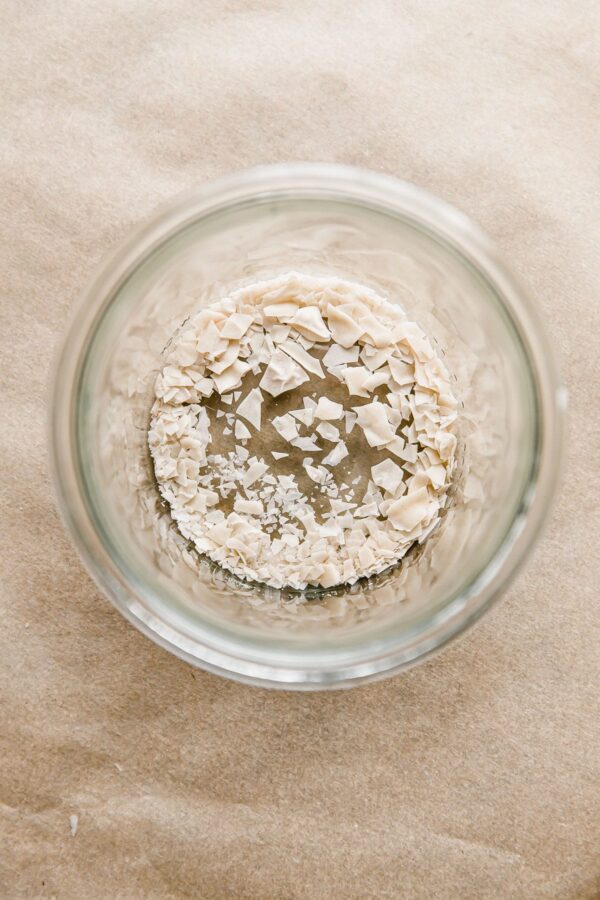
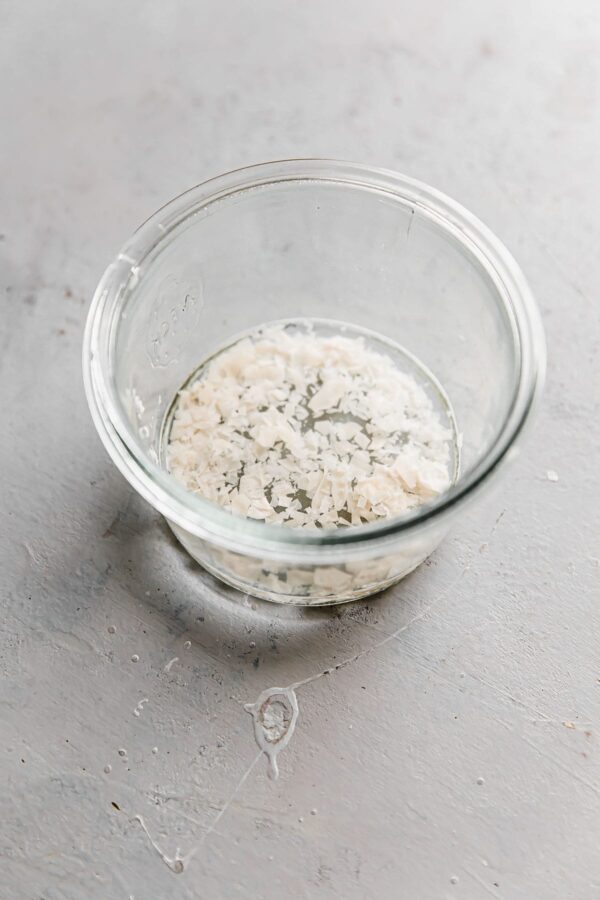
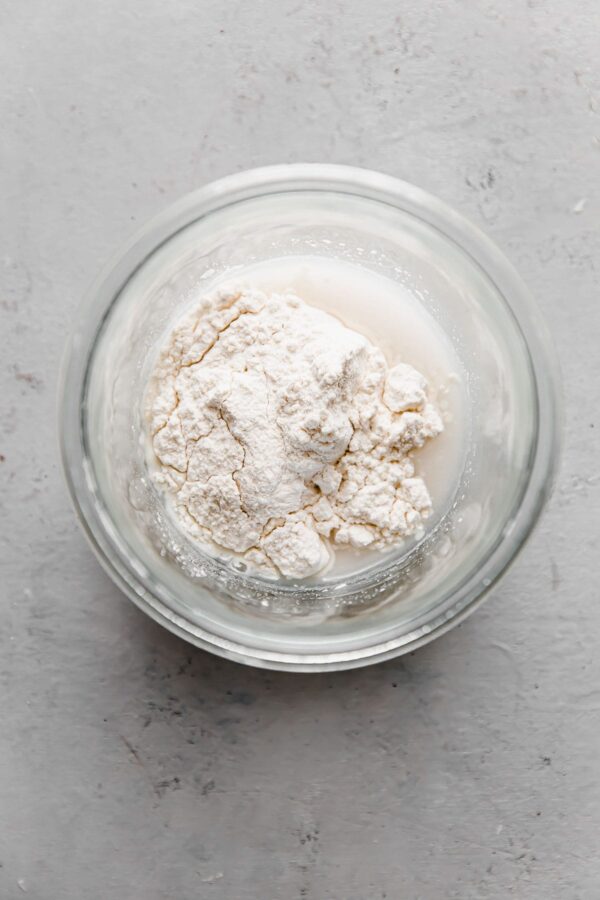
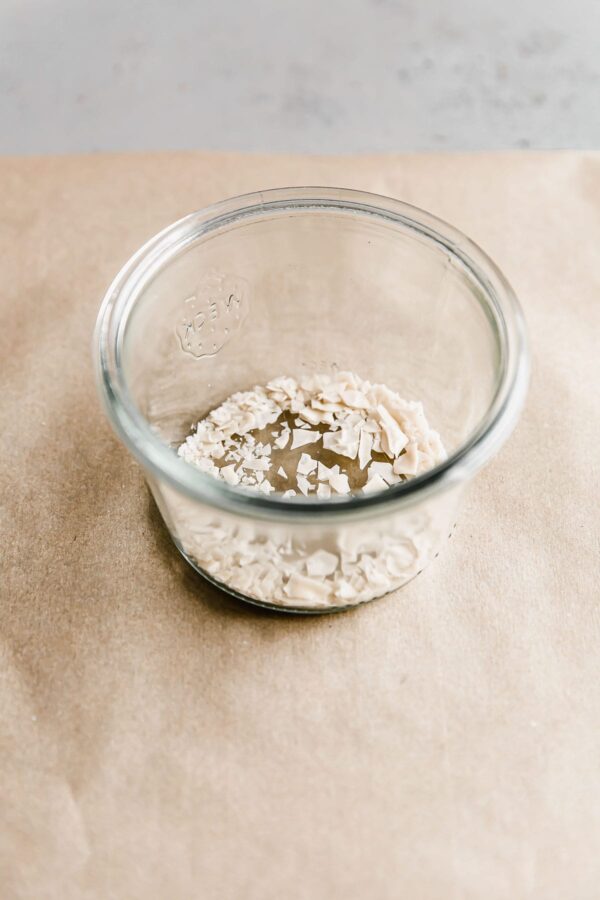
Combine 5 grams finely crumbled dried sourdough starter in a small glass jar. Add 25 grams (100°F/38°C) filtered water. Stir until the dry starter is completely submerged in the water.
Cover with a lid and allow mixture to sit for one hour at 76°F/24°C or room temperature.
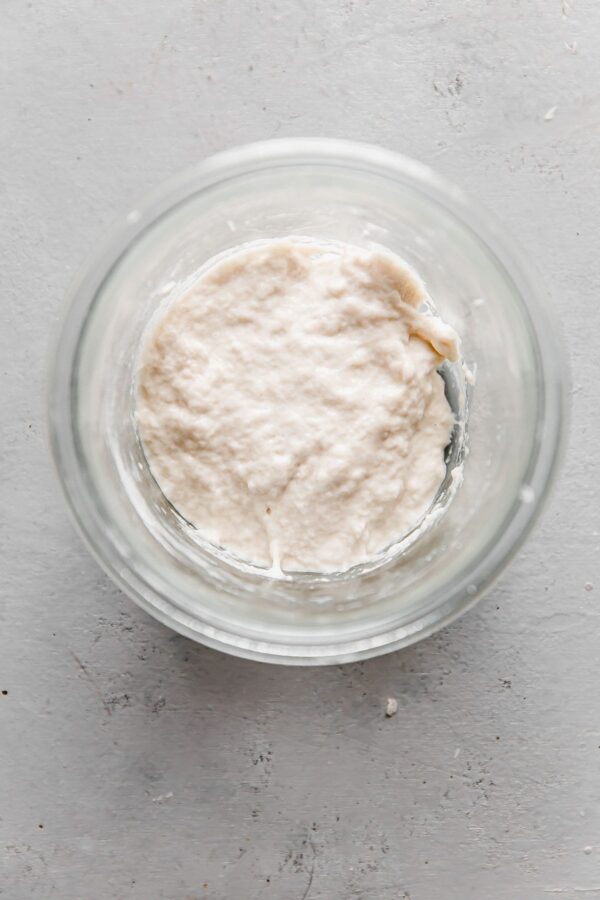
After an hour, add 20 grams unbleached bread flour (I recommend King Arthur brand) and stir with a spatula until thoroughly combined. Note: We’re using slightly more water than flour in this first feeding – a thinner, more hydrated starter allows for increased activity for yeast and bacteria.
Cover with a lid and store at 76°F/24°C (or room temperature) for 24 hours.
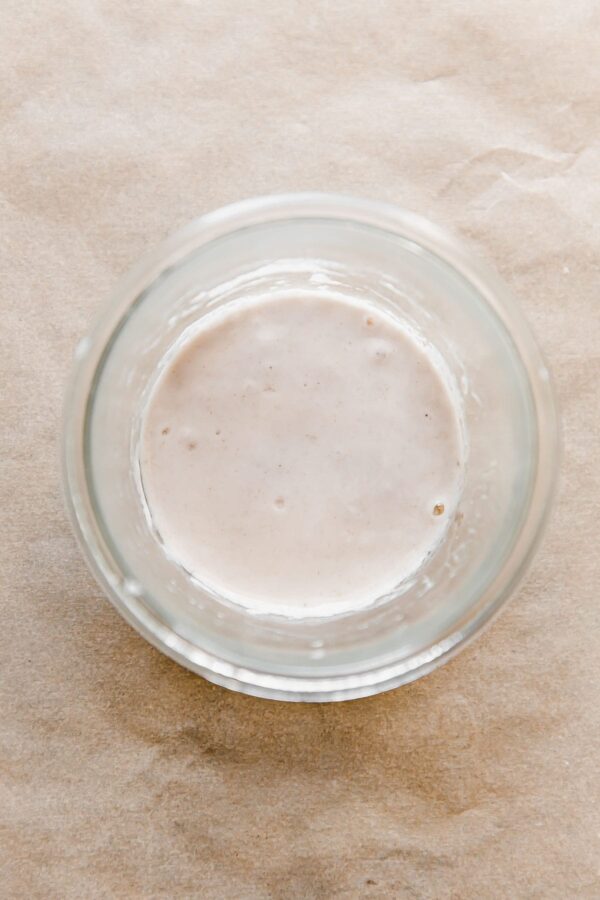
Day Two – Morning:
Observations: The mixture will look very smooth and not at all lively – little to no bubbles will be present.
Combine 10 grams starter mixture (discard the rest), 25 grams unbleached bread flour, and 25 grams room temperature filtered water in a glass jar. Mix with a spatula until thoroughly combined. Cover with a lid and store at 76°F/24°C (or room temperature) for 24 hours.
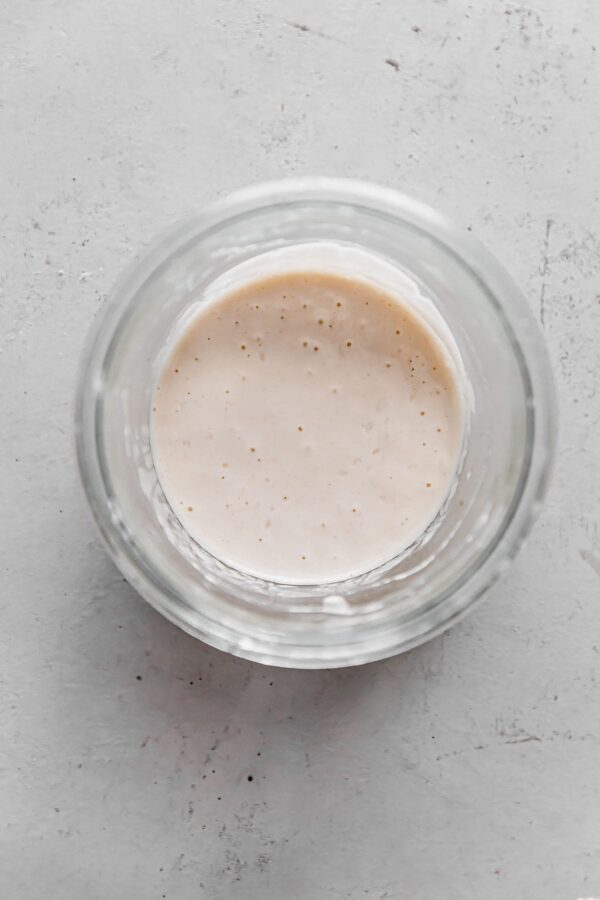
Day Three – Morning:
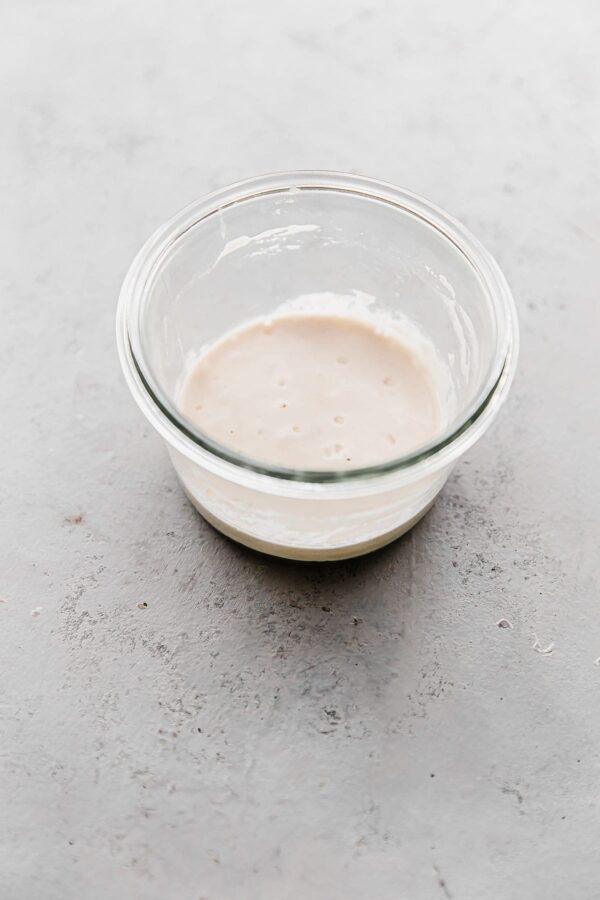
Observations: The mixture will look smooth and slightly thinner in texture. You might notice a couple bubbles on the surface, but the mixture won’t look lively.
Combine 10 grams starter mixture (discard the rest), 25 grams unbleached bread flour, and 25 grams room temperature filtered water in a glass jar. Mix with a spatula until thoroughly combined. Cover with a lid and store at 76°F/24°C (or room temperature) for 24 hours.
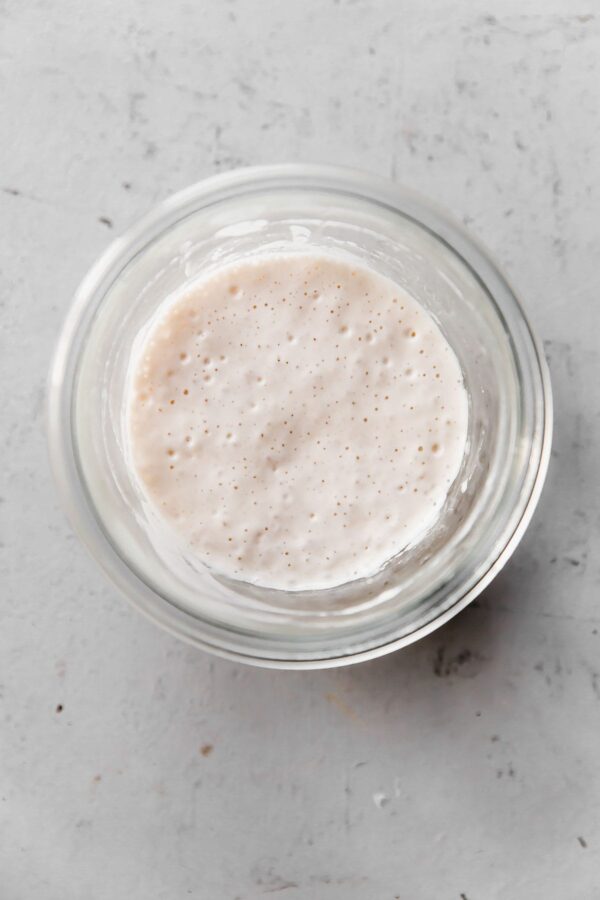
Day Four – Morning:
Observations: You’ll notice very little changes from the previous morning, but may notice a few more small bubbles on the surface. Stay patient!
Combine 10 grams starter mixture, 25 grams unbleached bread flour, and 25 grams room temperature filtered water in a glass jar. Mix with a spatula until thoroughly combined. Cover with a lid and store at 76°F/24°C (or room temperature) for 24 hours.
Day Four – Evening:
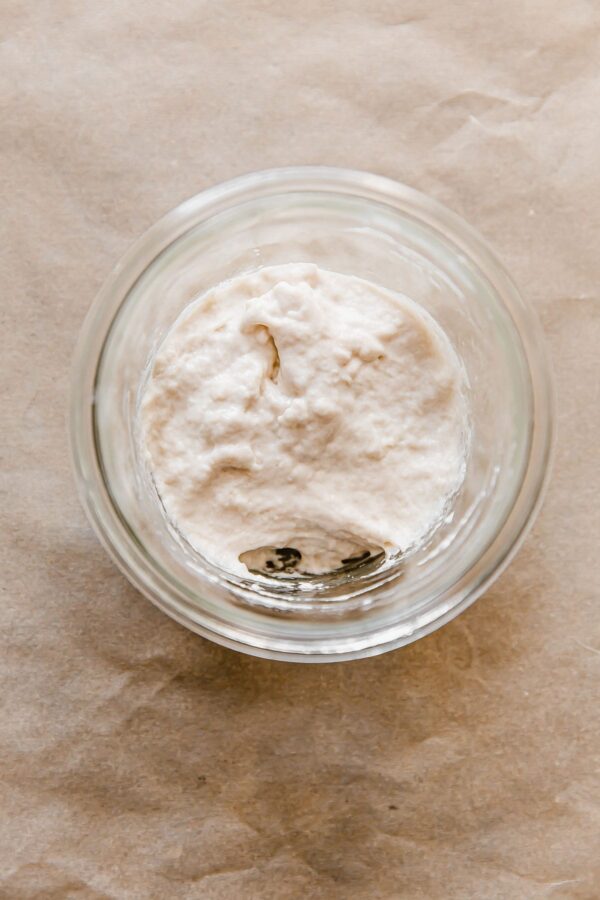
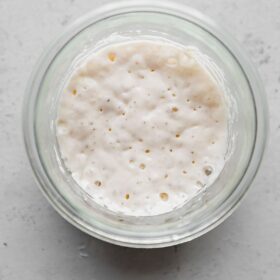
Observations: Roughly 12 hours later, you’ll notice many small bubbles on the surface and sides, and the starter should shown signs that it is slowly rising.
Continue storing at 76°F/24°C (or room temperature).
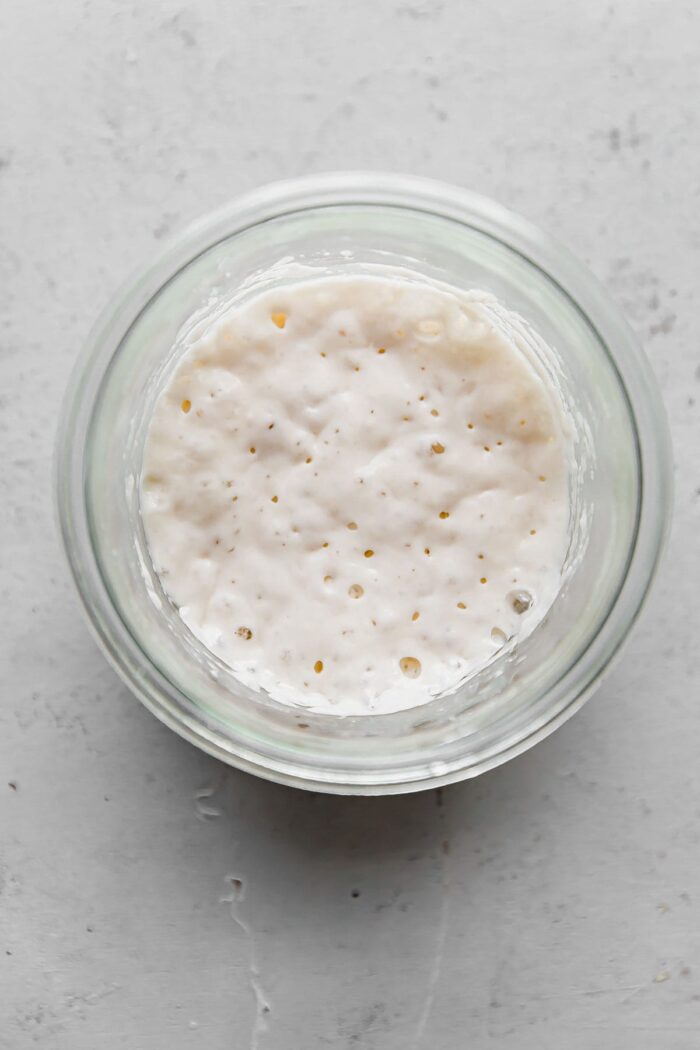
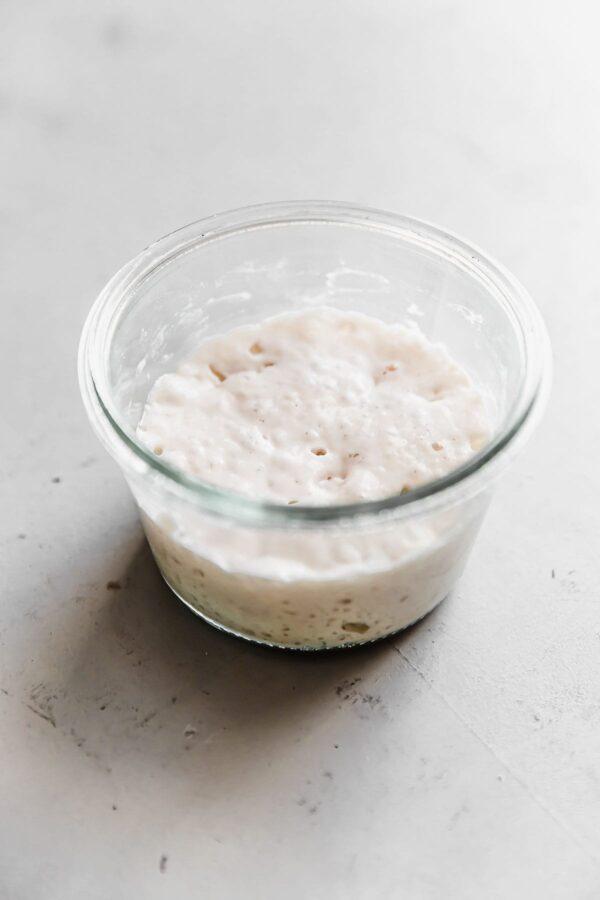
Day Five – Morning:
Observations: At this point, the mixture should have nearly doubled in volume and there will be small and big bubbles throughout the mixture. Allow starter to reach peak activity before proceeding with a feeding. If everything remains on track, you can get back to baking sourdough bread again!
Start regular daily feedings: combine 5 grams to 10 grams starter mixture, 25 grams unbleached bread flour, and 25 grams room temperature filtered water in a glass jar. Mix with a spatula until thoroughly combined. Cover with a lid and store mixture at 76°F/24°C (or room temperature) until starter reaches peak activity. Repeat.
You’ll want to adjust feeding ratios and quantities to fit your environment, preferred feeding schedule, and starter activity. For more information, be sure to reference my sourdough starter troubleshooting guide.
If you’re looking for additional sourdough baking resources, be sure to check out the following:
- How to Dry Sourdough Starter
- Sourdough Starter Troubleshooting Guide
- Sourdough Bread Baking Troubleshooting Guide
- Artisan Sourdough Bread Recipe + Step-By-Step YouTube Video
- Favorite Sourdough Bread Tools and Resources
- How to Store, Freeze, and Refresh Bread
How to Revive Dried Sourdough Starter
Ingredients
- 5 grams dried sourdough starter
- 120 grams unbleached bread flour, divided *I highly recommend King Arthur brand
- 125 grams filtered water room temperature
Instructions
- Please reference the photos and observation notes in the article above before proceeding.
- Day One Morning: Combine 5 grams finely crumbled dried sourdough starter in a small glass jar. Add 25 grams (100°F/38°C) filtered water. Stir until the dry starter is completely submerged in the water. Cover with a lid and allow mixture to sit for one hour at 76°F/24°C or room temperature.
- After an hour, add 20 grams bread flour (I recommend King Arthur brand for this guide) and stir with a spatula until thoroughly combined. Note: We're using slightly more water than flour in this first feeding - a thinner, more hydrated starter allows for increased activity for yeast and bacteria. Cover with a lid and store at 76°F/24°C (or room temperature) for 24 hours.
- Day Two Morning: Combine 10 grams starter mixture (discard the rest), 25 grams bread flour, and 25 grams room temperature filtered water in a glass jar. Mix with a spatula until thoroughly combined. Cover with a lid and store at 76°F/24°C (or room temperature) for 24 hours.
- Day Three Morning: Combine 10 grams starter mixture (discard the rest), 25 grams bread flour, and 25 grams room temperature filtered water in a glass jar. Mix with a spatula until thoroughly combined. Cover with a lid and store at 76°F/24°C (or room temperature) for 24 hours.
- Day Four Morning: Combine 10 grams starter mixture, 25 grams bread flour, and 25 grams room temperature filtered water in a glass jar. Mix with a spatula until thoroughly combined. Cover with a lid and store at 76°F/24°C (or room temperature) - check back in about 12 hours time (see below).
- Day Four Evening: Roughly 12 hours later, you'll notice many small bubbles on the surface and sides, and the starter should shown signs that it is slowly rising. Continue storing at 76°F/24°C (or room temperature).
- Day Five Morning: At this point, the mixture should have nearly doubled in volume and there will be small and big bubbles throughout the mixture. Allow starter to reach peak activity before proceeding with a feeding. If everything remains on track, you can get back to baking sourdough bread again.
- Once the starter has reached peak activity, start regular daily feedings: combine 5 to 10 grams starter, 25 grams bread flour, and 25 grams room temperature filtered water in a glass jar. Mix with a spatula until thoroughly combined. Cover with a lid and store mixture at 76°F/24°C (or room temperature) until starter reaches peak activity. Repeat.
78 Comments on “How to Revive Dried Sourdough Starter”
Hi Laura: This is a beautiful tutorial! I inadvertently threw away my precious starter and fortunately had dried some. I am on day 3 and covered with bubbles so ZI have fed 1-1-1 this morning. I learned that I need to dry in thin sheets rather than small chunks which I will do going forward. I am very relieved to have my starter working, thanks so much for this work
So glad to hear it’s been helpful! Yes. Drying the sourdough in thin sheets will be easier, as they will literally dry faster but they’ll also rehydrate a bit quicker as well. It’s not that you can’t do it the other way, it just makes it slightly more efficient all around!
I’m surprised to see you use bread flour to revive the starter. Please explain. When we feed mature starter, we always use all purpose. But to feed dried starter, use bread flour? Does this help it rejuvenate quicker?
Hi! I use bread flour for my starter feedings as well. You can use all purpose but I prefer to use what I’m using for the actual bread, and I think it products a stronger starter (higher gluten etc). A little bit of rye will actually help the most with reviving too!
A tip for those who are having difficulty getting their dried starter to properly activate, try a couple feedings with rye flour. I had used this method a couple of years ago with great success. This year, with the same dried starter, I tried to get it going 3 times and it just wouldn’t activate properly. I used the same AP flour that I’ve been using for years, and the starter mix would eat up all the gluten (become runny), but after a couple of weeks of feedings it just wouldn’t ever bubble or rise and it didn’t smell right. I scrapped the first two attempts after waiting for it to rise for a couple of days and mould making an appearance,l. On this latest attempt I decided to do some research and came across a suggestion to use a whole grain flour like rye to see if that would help activate it. Well what do you know, after the first feeding with rye, it tripled in size and finally smelled like it should. My second feeding after that, I used 50/50 rye and AP and it rose well again.
Thank you for the rehydration process! I had dehydrated my starter FIVE YEARS AGO and just successfully rehydrated it! I started your process yesterday and already today it doubled!!
(And thank goodness because my regular starter I had been using must have gotten tainted somehow as it began to grow black mold. So sad — I had had it since 2013. But because I had dehydrated some of it in 2020, I was able to revive it and technically still have my same starter. I know, I know, we’re all relieved lol.)
Same happened to me! Dehydrated in July 2020 and put it in the freezer. I have AP and rye, the rye consistently holds its rise better than the AP, but I keep both. My “mother” starter lives in the frig and somehow ended up getting Kahm yeast on top. I read differing opinions on how to handle it, but decided to toss and rehydrate the frozen. Thanks for posting!
Have to start with…I rarely ever leave published reviews.
Perfect rehydration steps! I followed it exactly, and received successful results. I am already baking.
Prior to dehydrating, I made certian my starer was fed and ripe. At that point I dehydrated by spreading a thin film on a parchment lined sheet pan to air dry (covered with plastic wrap) for 2 days. After, I froze the dehydrated pieces for a moth as I was out of state.
Thank you for publishing these steps. I am happy to have discovered A Beautiful Plate.
Hi Laura,
Thanks for such an easy to follow guide (great pics too) on how to revive dehydrated starter. I recently moved back from Germany and dehydrated my starter before coming home. During my travels I picked up starter from Bread 41 while in Dublin, Ireland . And now Eoin is in Texas! He’s named after the owner of the bakery. 🙂
Eoin is alike and kicking and behaved exactly as he should have on each day. Let the baking begin! Thanks again and glad I found A Beautiful Plate.
Diana
I wanted to ask I’m on day 4 I didn’t feed it in the evening it’s very bubbly but not on the surface and I don’t see any rising what should I do should I change the ratio? Tomorrow I’ll be feeding again as usual 10 grams starter 25 grams water and flour but it’ll be day five.
Hello! Have you had any luck since you left this comment? Sometimes it takes people a bit longer to get the starter active again so it can vary person to person. Let me know if you’re still having issues and I can try to troubleshoot!
Working on rehydrating my dry starter. I live in the mountains and at night my house does not stay at 70°. I’m just in the fourth day today and there doesn’t seem to be doing what the recipe says it should be doing. It has not risen at all yet. Am I doing something wrong or is it just the temperature of my house?
Hi Janet, I apologize for the late reply to your comment! Has it does anything since you last left this comment? Sometimes it just needs more time. Alternatively, I would use warm water for all feedings to give it a bit of a jump start.
I am struggling hard to revive a starter my friend gave me. She has given it to multiple people and even revived some of her own and we would call every day and do the same thing and hers came back to life and mine will not. I followed your instructions to a t and it stays in the day 3 stage for over a week. Flat with some little bubbles in it. I don’t know what I’m doing wrong. Bottled water, stored in 76°, measure everything out in grams. Please help!
So sorry for the delay in response! Honestly, it’s a bit hard to say – it could be your environment. I would suggest slowing down the feedings as it’s ramping up. It might just need more time too. If all else fails, I’d ask your friend (if she is close by!) to provide you with some hydrated starter and go from there so you can skip this step.
I flew in to see my friend who was successful with her starter when I couldn’t keep one alive, she dried it out for me and I used these steps and its ALIVE! Thank you!
This recipe sucks. My starter has been crusted over every single day. Supposed to be active with many bubbles and there’s nothing but a dried crusted over top. I have a scale. I am measuring. it’s in the microwave with the light on for warmth. there’s something very off about these ratios.
Hello! This is not a recipe, this is a tutorial for bringing dehydrated starter back to life. With that said, I honestly cannot figure out why you’re experiencing what you are – a 1:1 ratio of flour to water for feeding a starter is EXTREMELY common and for the beginning stages, I actually call for MORE water to get it hydrated sooner. I’m not sure what to tell you, maybe it’s drying out in your microwave (or getting baked somehow, as I don’t recommend this and cannot know how hot that light is making that environment) or the starter you began the process with is somehow different?
In the first step, should my starter be completely dissolved in the water before adding flour? After 2 hrs I still see starter granules in the water. Ok to add flour or should I wait until the starter is completely dissolved?
It will depend on how fine your dried sourdough starter ended up being. Ideally it will be very very softened before you add the flour, maybe let it sit for another 30 minutes or so, then stir, then add flour. It will still hydrate after this step, but this is giving it a better consistency from the start. Hope this helps!
P.S. I have added 10 grams starter and 25 each of unbleached flour and water as suggested in your recipe.
I am on day six. The starter is smooth, a couple larger bubbles, good aroma. It has not risen. What is the best way to proceed.
I would give it a bit more time between your next feeding and put it in the warmest spot in your house!!! It really might just need a bit more time, but you might need to adjust the feeding schedule (prolonging it) during this stage if it’s being sluggish.
Am I able to use the discard or do I have to toss it?
You could use the discard in a recipe for flavor, such as pancakes or waffles!
Two weeks in. Used dried starter stored in a sealed jar in the basement from a year ago. Following all the instructions. A bubble here and there, but nothing. Using a proofing box set at 78 degrees. using King Arthur bread flour. What’s going on? When I started this during COVID it took 35 days to get activity. Bermuda Triangle of sourdough?
Should the lid be airtight? Or should it be a looser or breathable cover?
Not airtight. But fully resting on top, so it doesn’t dry out. A glass lid for a glass jar like a Weck is ideal.
Hello! How do you know when it has reached peak activity? I’ve never done this before so no frame of reference! Also I didn’t have bread flour so I used a bit of whole wheat and a bit of all purpose… did I make an error there?
I recommend checking out this article https://www.abeautifulplate.com/sourdough-starter-troubleshooting-guide/ and my other sourdough content. Peak activity indicates when the starter has risen to its capacity (height). It will stay at peak for a bit, then slowly start to fall. Peak is when it’s generally run out of food and you need to do another feeding.
Whole wheat flour and all purpose is OK. Bread flour is a bit more ideal, but either will work – just make sure you’re not using bleached all purpose flour.
Day 4 instructions doesn’t say to discard?
Do I discard again and o my use what you stated.
Confused.
Thanks
Not sure if you’re asking about the morning or evening. Yes, you are discarding to have only 10 grams left. If you’re seeing signs of activity as I stated, you are simply letting it sit overnight.
What do we do if it doesn’t double morning day 5?
Is it rising at all?
Before I begin reviving my starter, I planned on using just one jar, so how do leave 25 g and discard the rest? Do you have to keep the jar weight each time I add more flour and water?
Yes, you’d want to tare things on a scale – it doesn’t have to be exact what you leave behind, but obviously the more precise, the more regular your feeding period will be.
I personally like using a clean jar every few feedings because it can get very crusty and it’s harder to remove a lot of discard from a jar, then it is to remove a spoonful for feeding into a new one. That’s my personal take but to each their own.