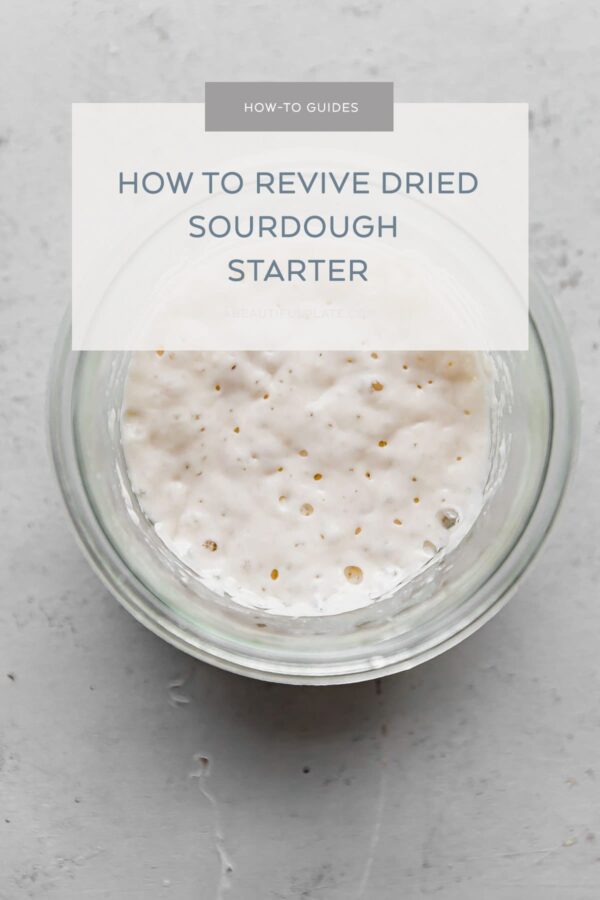
How to Revive Dried Sourdough Starter
Once you’ve learned how to dry sourdough starter for long-term storage or gifting to others, you’ll need to learn how to revive it!
Today’s step-by-step guide walks you through how to rehydrate dried sourdough starter to full strength in less than a week.
You’ll find photos and detailed observation notes below, as well as a printable guide at the bottom of this post.
To reduce overall waste, this guide uses very small quantities of dried sourdough starter, flour, and water. Be sure to have basic kitchen scale on hand before getting started.
Once your starter is rehydrated and back to full strength, you can always scale up your sourdough starter (using the same feeding ratio) as needed for baking. For more details, be sure to check out my sourdough starter troubleshooting guide.
Equipment Recommendations:
- glass jar(s) with a lid(s) (*I recommend 10 oz Weck jars for this guide)
- small spatula
- basic kitchen scale
Ingredients You’ll Need:
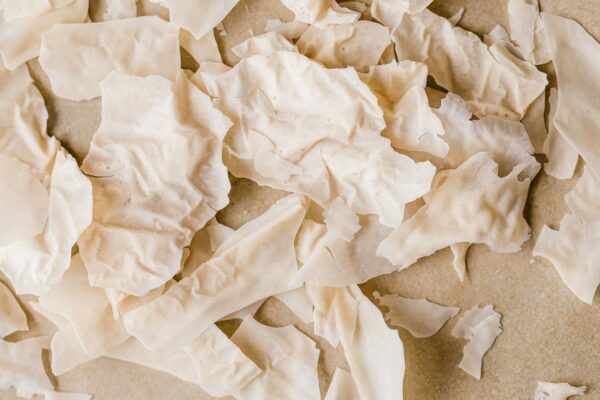
- dried sourdough starter
- unbleached bread flour (*I recommend King Arthur brand)
- filtered water
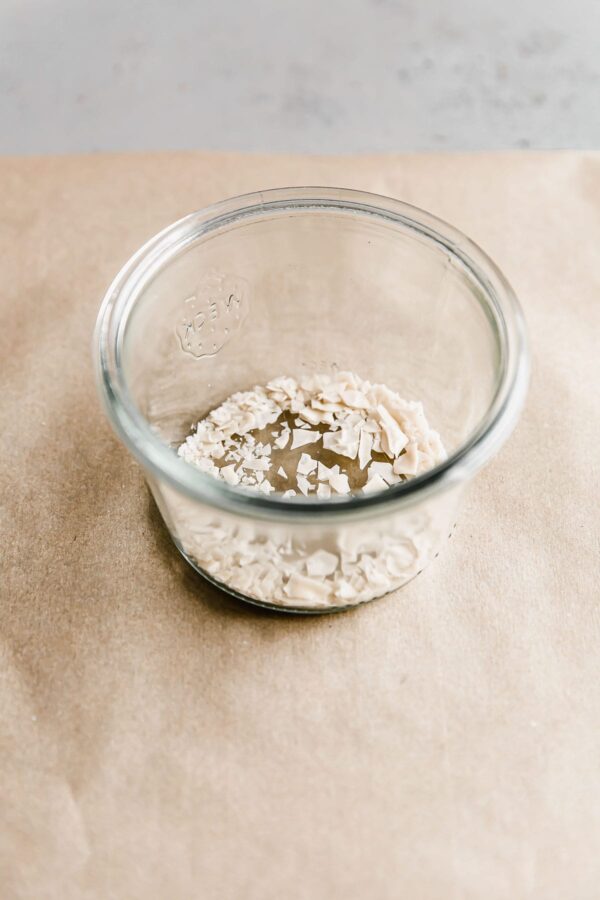
Day One – Morning:
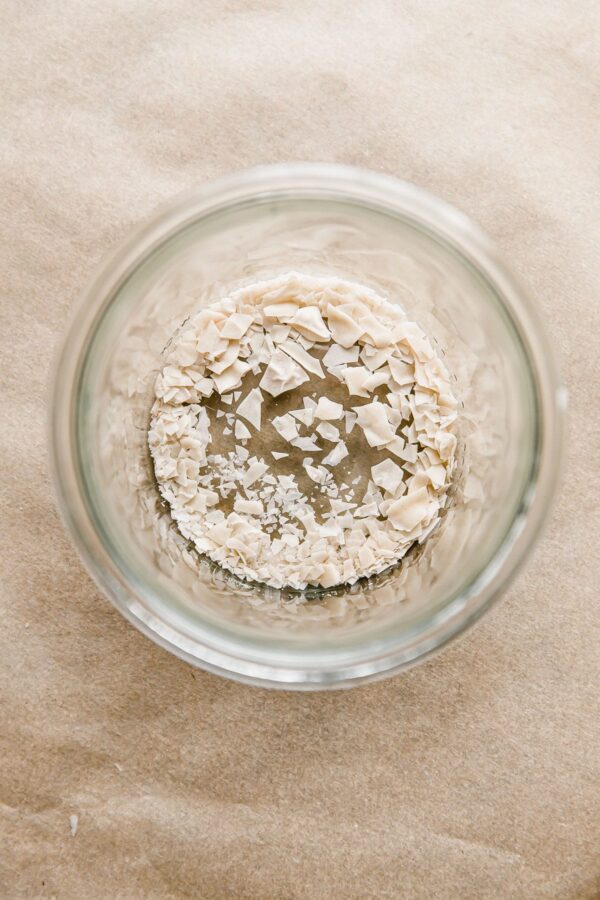
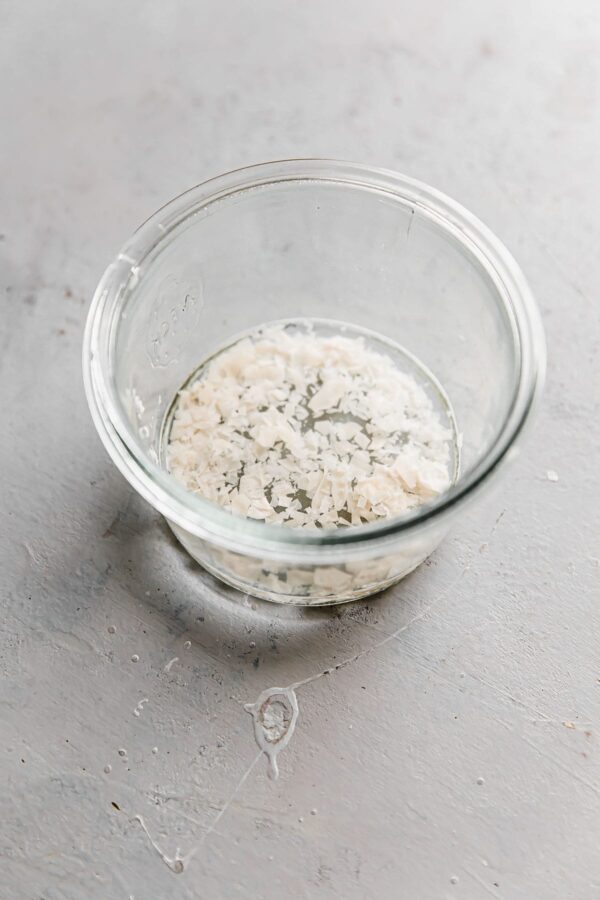
Combine 5 grams finely crumbled dried sourdough starter in a small glass jar. Add 25 grams (100°F/38°C) filtered water. Stir until the dry starter is completely submerged in the water.
Cover with a lid and allow mixture to sit for one hour at 76°F/24°C or room temperature.
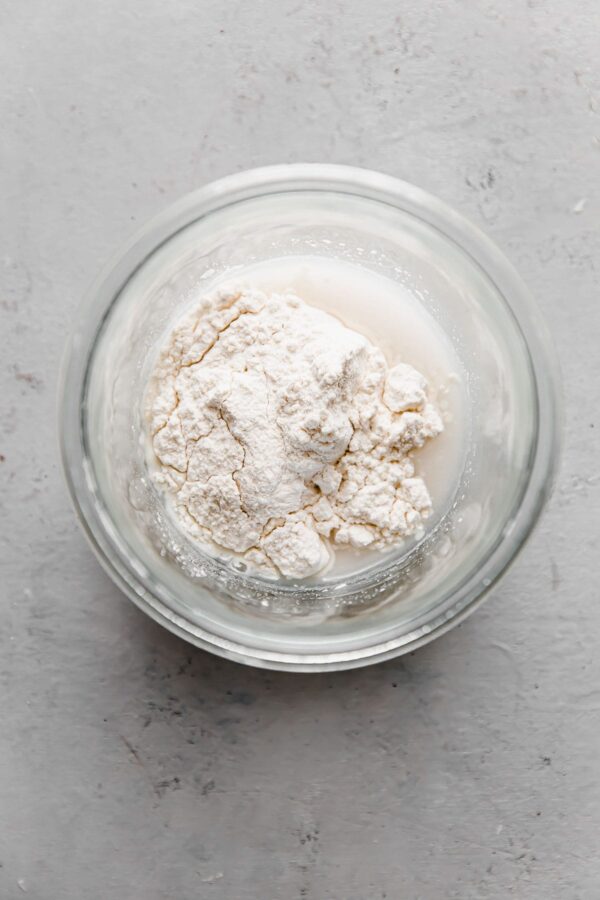
After an hour, add 20 grams unbleached bread flour (I recommend King Arthur brand) and stir with a spatula until thoroughly combined. Note: We’re using slightly more water than flour in this first feeding – a thinner, more hydrated starter allows for increased activity for yeast and bacteria.
Cover with a lid and store at 76°F/24°C (or room temperature) for 24 hours.
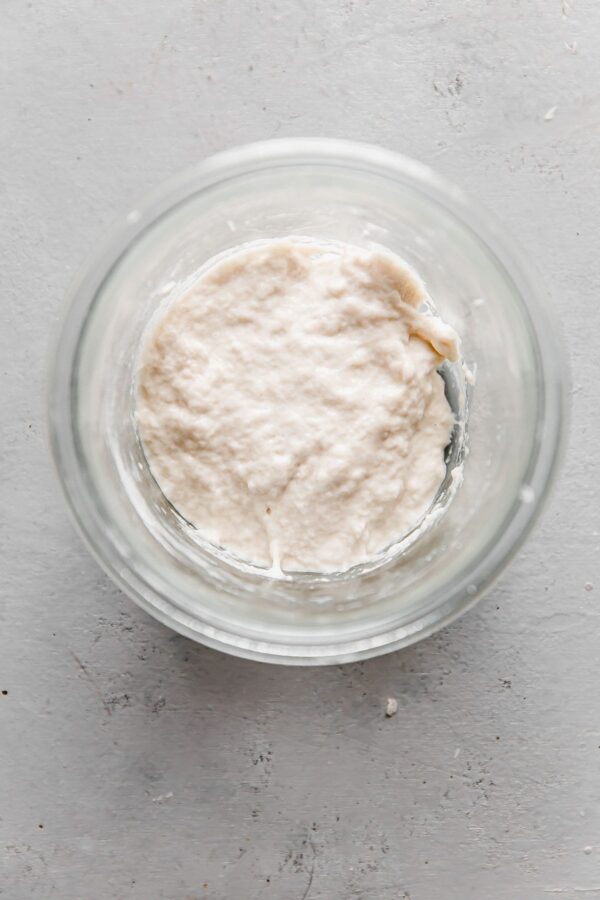
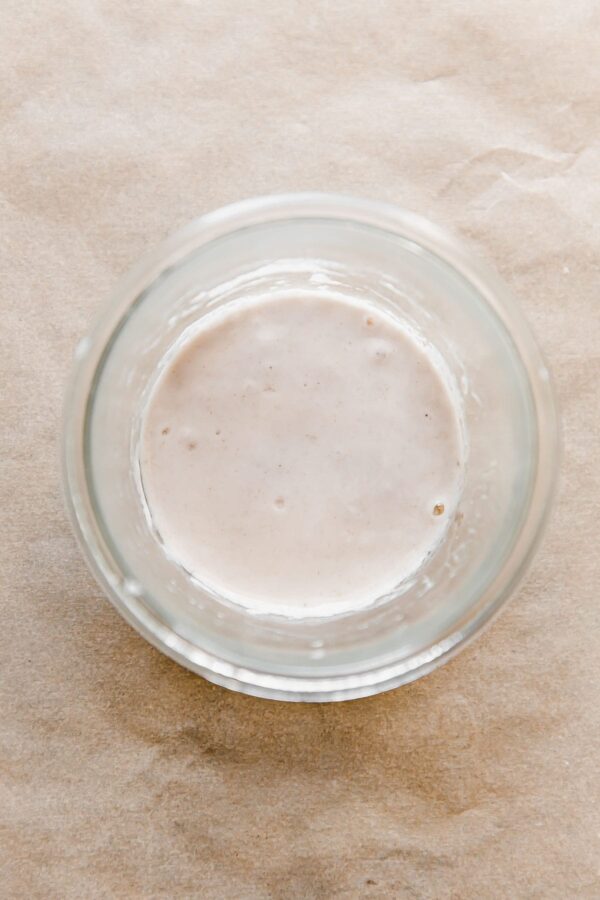
Day Two – Morning:
Observations: The mixture will look very smooth and not at all lively – little to no bubbles will be present.
Combine 10 grams starter mixture (discard the rest), 25 grams unbleached bread flour, and 25 grams room temperature filtered water in a glass jar. Mix with a spatula until thoroughly combined. Cover with a lid and store at 76°F/24°C (or room temperature) for 24 hours.
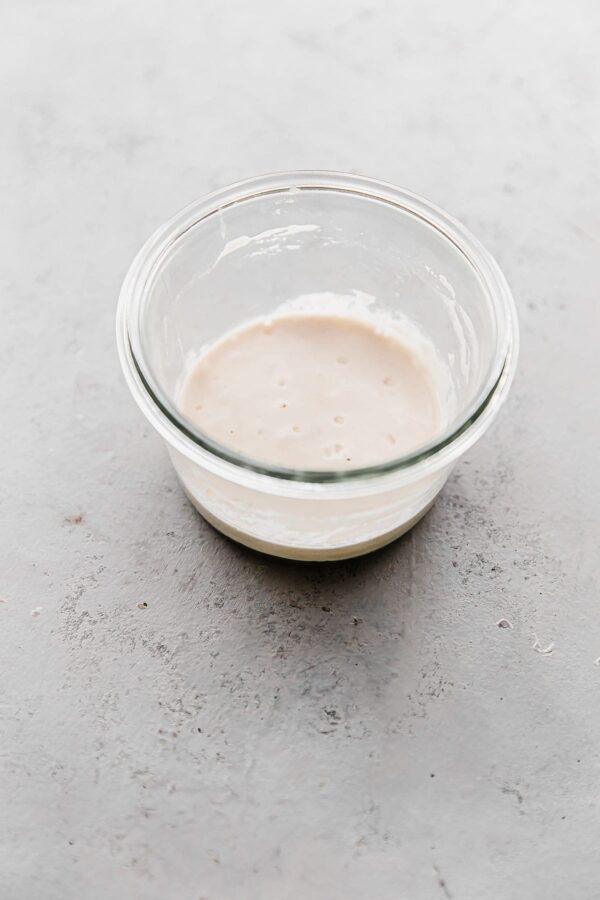
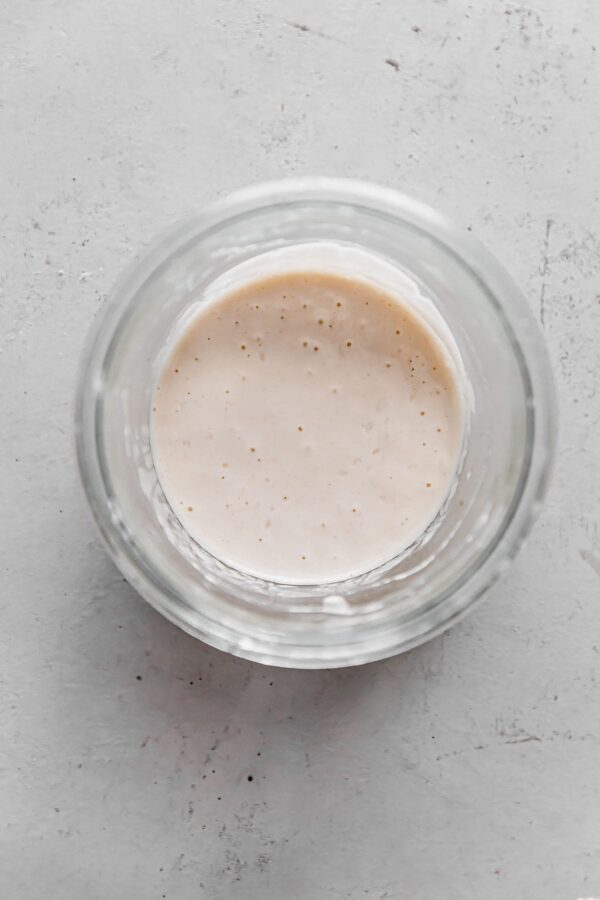
Day Three – Morning:
Observations: The mixture will look smooth and slightly thinner in texture. You might notice a couple bubbles on the surface, but the mixture won’t look lively.
Combine 10 grams starter mixture (discard the rest), 25 grams unbleached bread flour, and 25 grams room temperature filtered water in a glass jar. Mix with a spatula until thoroughly combined. Cover with a lid and store at 76°F/24°C (or room temperature) for 24 hours.
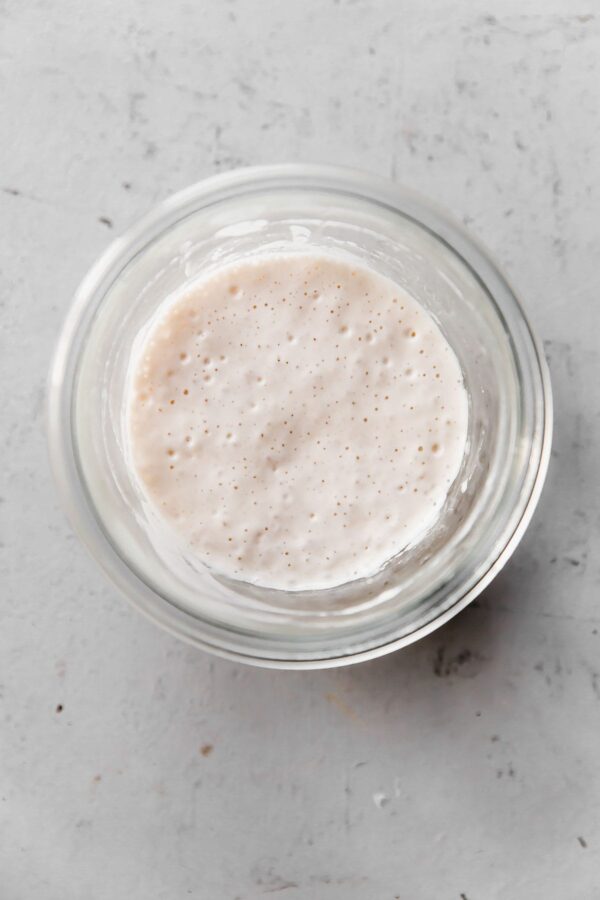
Day Four – Morning:
Observations: You’ll notice very little changes from the previous morning, but may notice a few more small bubbles on the surface. Stay patient!
Combine 10 grams starter mixture, 25 grams unbleached bread flour, and 25 grams room temperature filtered water in a glass jar. Mix with a spatula until thoroughly combined. Cover with a lid and store at 76°F/24°C (or room temperature) for 24 hours.
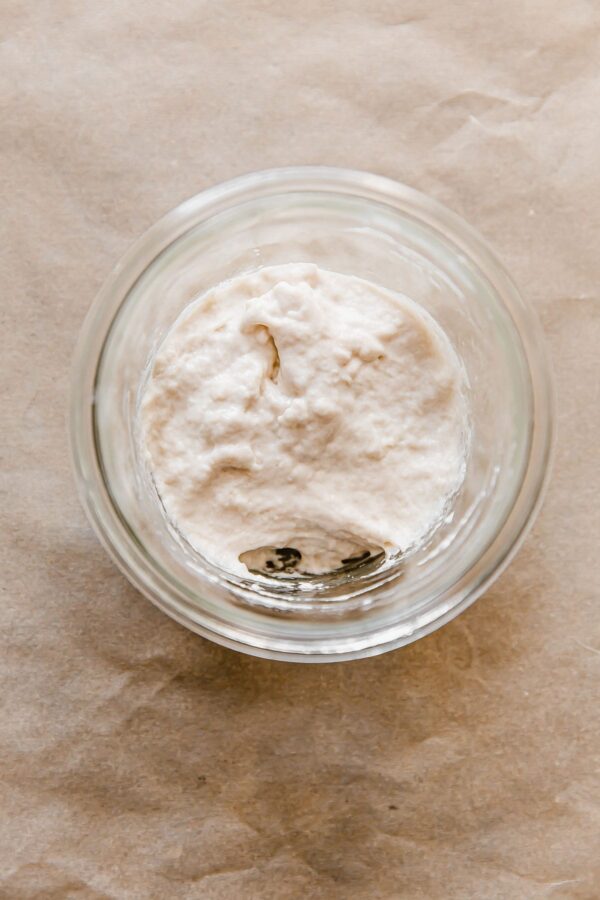
Day Four – Evening:
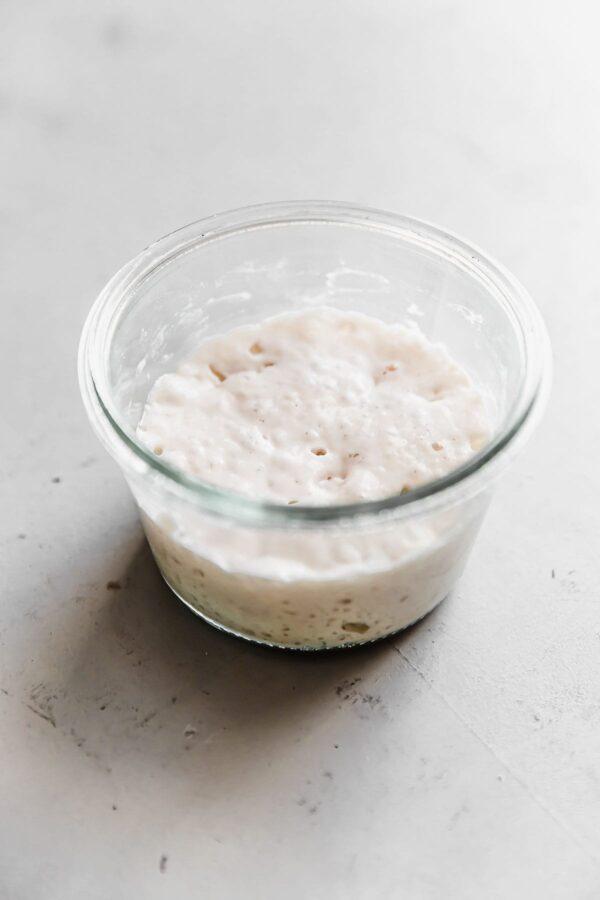
Observations: Roughly 12 hours later, you’ll notice many small bubbles on the surface and sides, and the starter should shown signs that it is slowly rising.
Continue storing at 76°F/24°C (or room temperature).
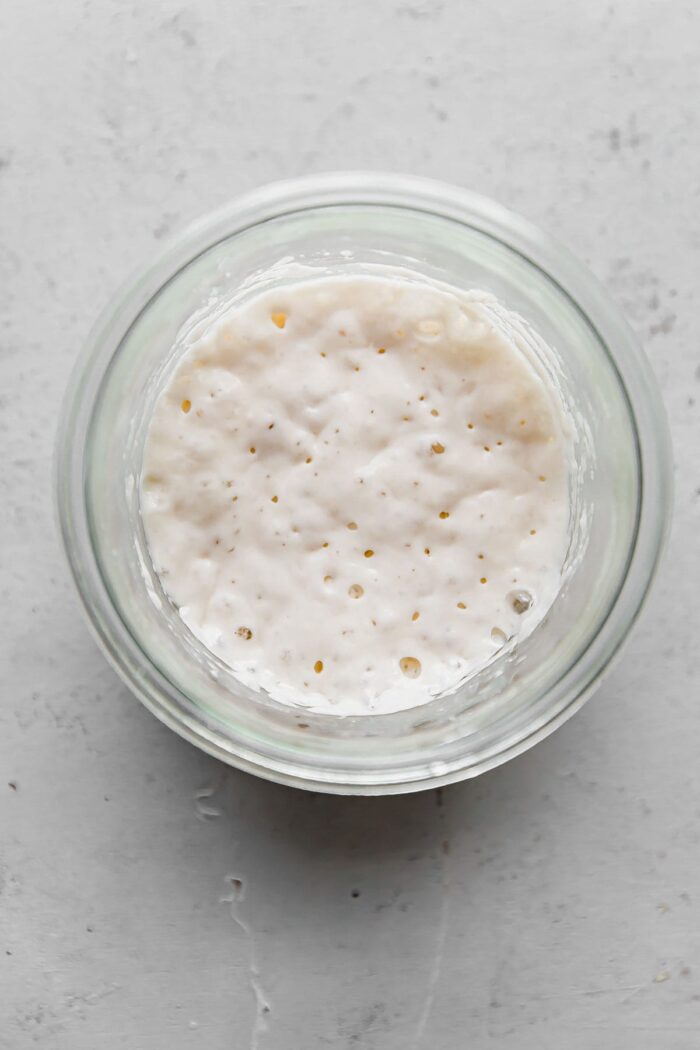
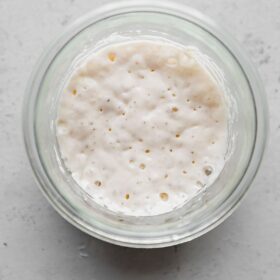
Day Five – Morning:
Observations: At this point, the mixture should have nearly doubled in volume and there will be small and big bubbles throughout the mixture. Allow starter to reach peak activity before proceeding with a feeding. If everything remains on track, you can get back to baking sourdough bread again!
Start regular daily feedings: combine 5 grams to 10 grams starter mixture, 25 grams unbleached bread flour, and 25 grams room temperature filtered water in a glass jar. Mix with a spatula until thoroughly combined. Cover with a lid and store mixture at 76°F/24°C (or room temperature) until starter reaches peak activity. Repeat.
You’ll want to adjust feeding ratios and quantities to fit your environment, preferred feeding schedule, and starter activity. For more information, be sure to reference my sourdough starter troubleshooting guide.
If you’re looking for additional sourdough baking resources, be sure to check out the following:
- How to Dry Sourdough Starter
- Sourdough Starter Troubleshooting Guide
- Sourdough Bread Baking Troubleshooting Guide
- Artisan Sourdough Bread Recipe + Step-By-Step YouTube Video
- Favorite Sourdough Bread Tools and Resources
- How to Store, Freeze, and Refresh Bread
How to Revive Dried Sourdough Starter
Ingredients
- 5 grams dried sourdough starter
- 120 grams unbleached bread flour, divided *I highly recommend King Arthur brand
- 125 grams filtered water room temperature
Instructions
- Please reference the photos and observation notes in the article above before proceeding.
- Day One Morning: Combine 5 grams finely crumbled dried sourdough starter in a small glass jar. Add 25 grams (100°F/38°C) filtered water. Stir until the dry starter is completely submerged in the water. Cover with a lid and allow mixture to sit for one hour at 76°F/24°C or room temperature.
- After an hour, add 20 grams bread flour (I recommend King Arthur brand for this guide) and stir with a spatula until thoroughly combined. Note: We're using slightly more water than flour in this first feeding - a thinner, more hydrated starter allows for increased activity for yeast and bacteria. Cover with a lid and store at 76°F/24°C (or room temperature) for 24 hours.
- Day Two Morning: Combine 10 grams starter mixture (discard the rest), 25 grams bread flour, and 25 grams room temperature filtered water in a glass jar. Mix with a spatula until thoroughly combined. Cover with a lid and store at 76°F/24°C (or room temperature) for 24 hours.
- Day Three Morning: Combine 10 grams starter mixture (discard the rest), 25 grams bread flour, and 25 grams room temperature filtered water in a glass jar. Mix with a spatula until thoroughly combined. Cover with a lid and store at 76°F/24°C (or room temperature) for 24 hours.
- Day Four Morning: Combine 10 grams starter mixture, 25 grams bread flour, and 25 grams room temperature filtered water in a glass jar. Mix with a spatula until thoroughly combined. Cover with a lid and store at 76°F/24°C (or room temperature) - check back in about 12 hours time (see below).
- Day Four Evening: Roughly 12 hours later, you'll notice many small bubbles on the surface and sides, and the starter should shown signs that it is slowly rising. Continue storing at 76°F/24°C (or room temperature).
- Day Five Morning: At this point, the mixture should have nearly doubled in volume and there will be small and big bubbles throughout the mixture. Allow starter to reach peak activity before proceeding with a feeding. If everything remains on track, you can get back to baking sourdough bread again.
- Once the starter has reached peak activity, start regular daily feedings: combine 5 to 10 grams starter, 25 grams bread flour, and 25 grams room temperature filtered water in a glass jar. Mix with a spatula until thoroughly combined. Cover with a lid and store mixture at 76°F/24°C (or room temperature) until starter reaches peak activity. Repeat.
78 Comments on “How to Revive Dried Sourdough Starter”
Hi Laura! Thanks so much for your tips. When I discard on day 2/3, can I make discard recipes with that?
Yes! I would recommend something like waffle or pancakes. Don’t use it for leavening purposes, just for adding flavor.
Loving this so far! Already seeing bubbles and I’m on day 3 right now. I am unexpectedly having to leave my house for about a day and a half, and I’m wondering if I can feed my starter today and then just put it right into the fridge and resume when I get back? Or would I have to start from scratch? If you have any advice I would appreciate it! Thank you 🙂
I would put in the fridge and resume when you get back! It might take an extra day or so to rev up, but I think that’s better if than leaving it out for two straight days (that won’t kill it either, but fridge is probably a better choice).
Thank you for your quick reply!!