

Sourdough Pizza Dough
A step-by-step guide on how to make sourdough pizza dough, including a recipe for a classic Margherita-style pizza.
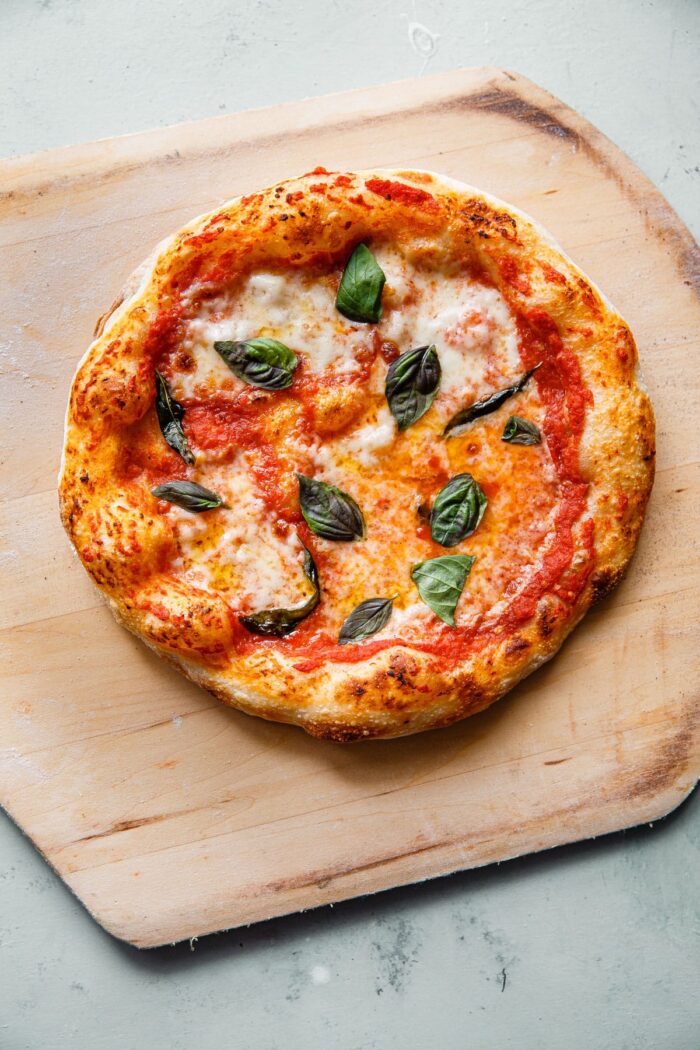
Despite my passion for sourdough bread, homemade sourdough pizza is undoubtedly the biggest perk of maintaining a sourdough starter. Not only is sourdough pizza much easier to master, it will transform your dinner game.
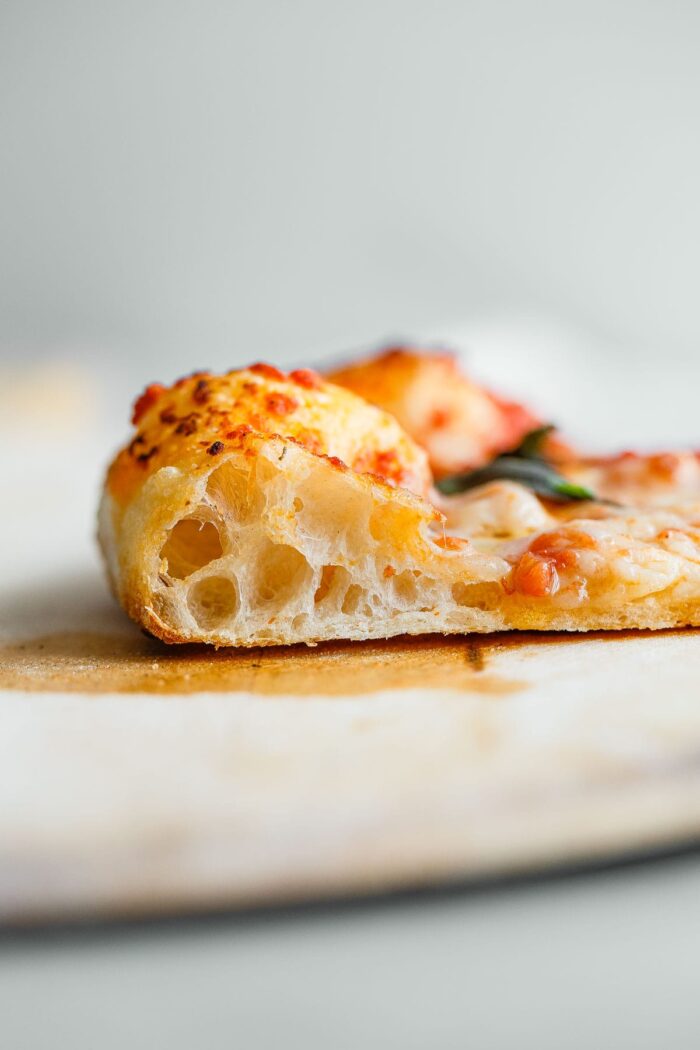
This irresistible sourdough pizza dough is naturally leavened and prepared with a combination of Type “00” flour (strong, finely ground flour typically used for pizza and homemade pasta) and high-protein bread flour.
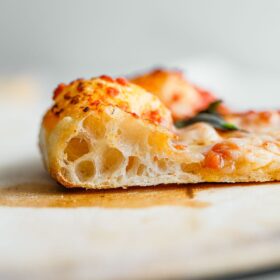
This makes a delightfully crisp and chewy, yet tender crust with a signature sourdough tang. So much flavor in every bite.
After testing various pizza recipes over the years, this is the formula that we come back to over and over again. It is easy to make and produces consistently delicious restaurant-worthy pizza.
In fact, you’ll quickly become spoiled for life. It is a bit of a problem.
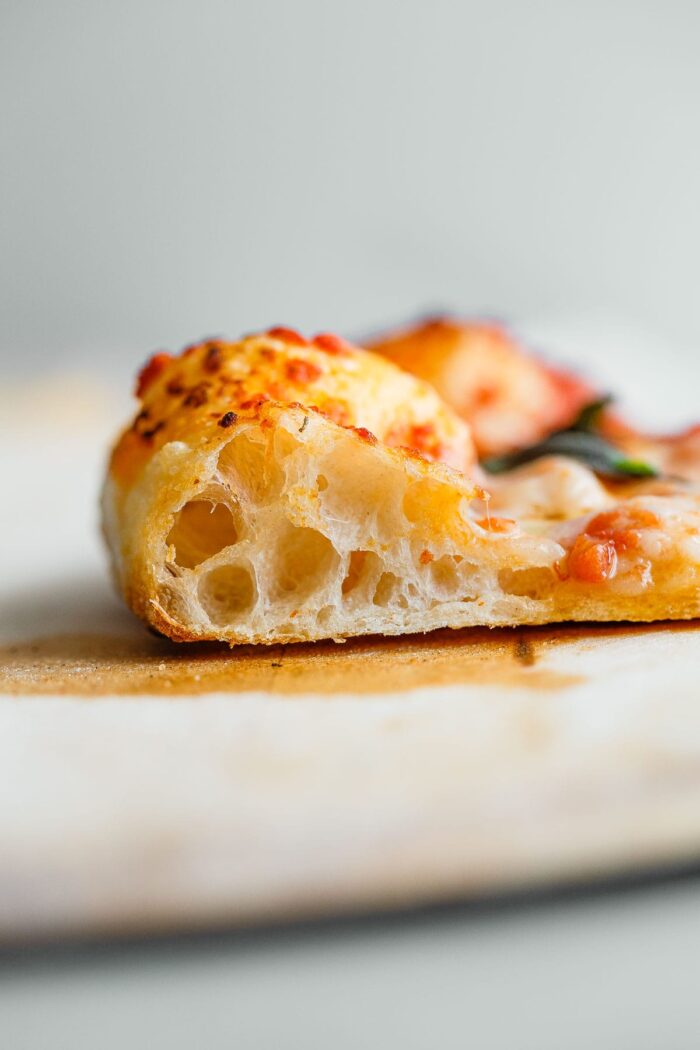
Sourdough Pizza Dough Ingredients:
Yields Three (10-Inch) Pizzas
- 225 grams 90°F-95°F filtered water (32°C-35°C)
- 15 grams salt
- 250 grams ripe sourdough starter (100% hydration)
- 250 grams type “00” flour I’ve tested this formula extensively with Central Milling and on occasion Caputo
- 125 grams high-protein bread flour I recommend King Arthur brand
How to Make Sourdough Pizza Dough:
For in-depth instructions, equipment recommendations, and an example baking timeline, please reference the full recipe at the bottom of this post.
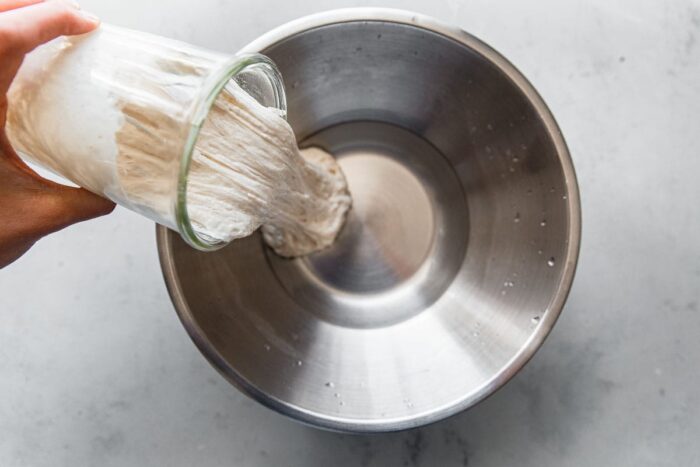
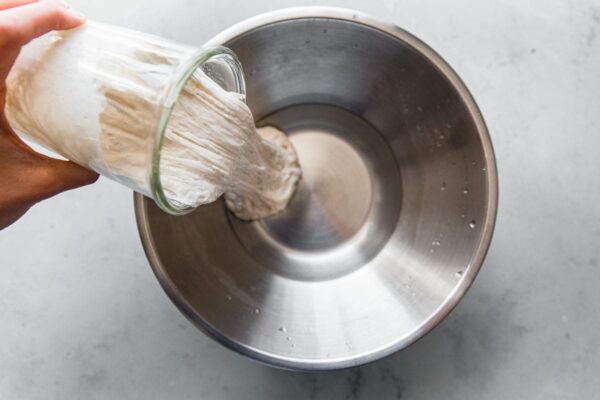
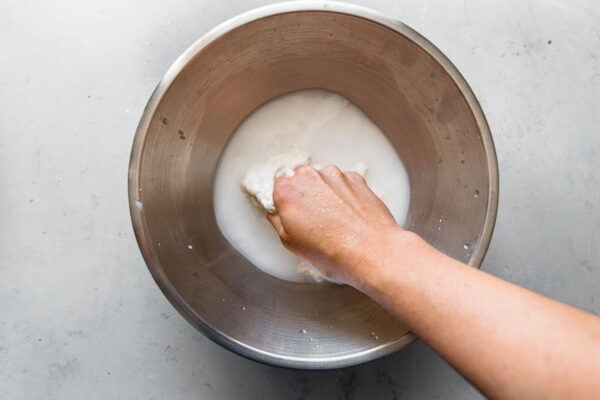
Step 1: Combine the water and salt together in a large mixing bowl. Mix until the salt has completely dissolved. Add the ripe sourdough starter. Using your hands, pinch the starter into the water mixture until it is broken into small clumps throughout.
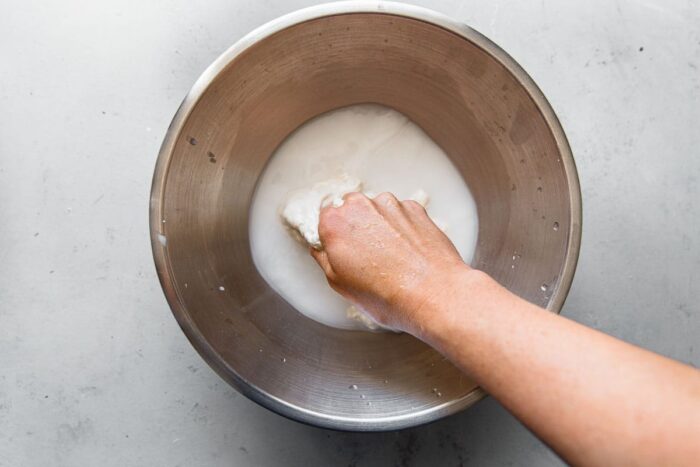
Step 2: Add the “00” flour and bread flour to the bowl. Using a Danish dough whisk or your hands, mix the ingredients together until thoroughly mixed, and no dry bits or lumps remain. The dough will be shaggy. Cover the bowl and rest at room temperature for 20 minutes.
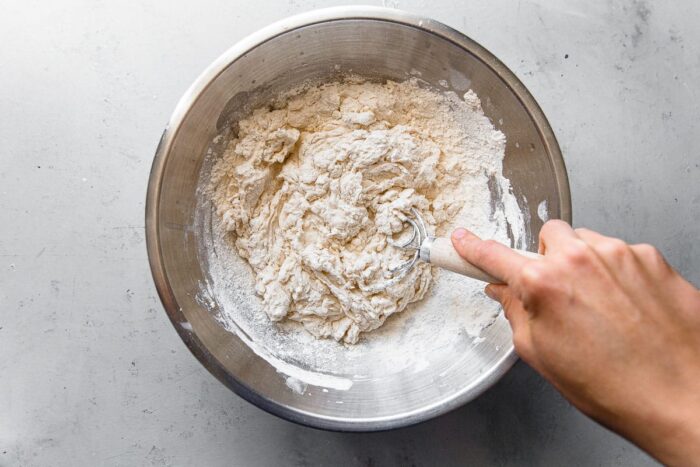
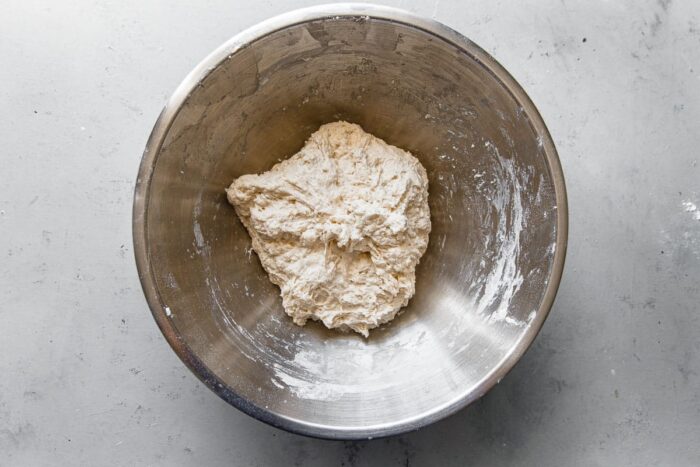
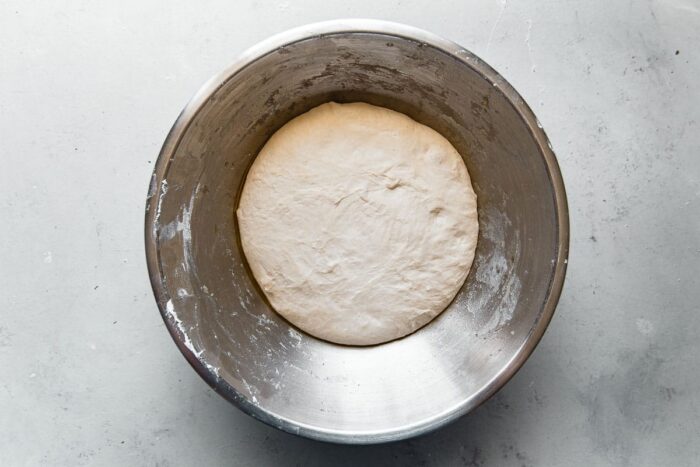
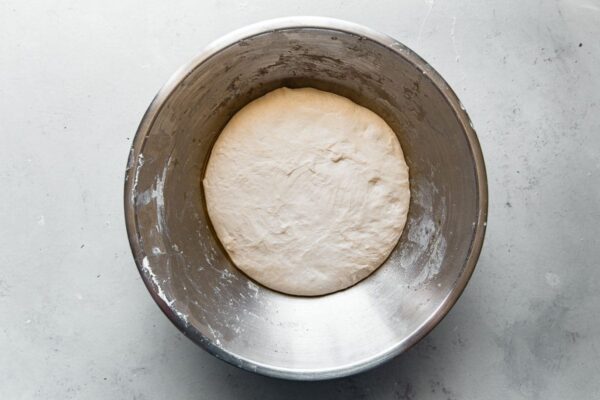
Step 3: Transfer the dough to a lightly floured countertop and knead for 1 minute or so, or until the dough is mostly smooth. Lightly grease the mixing bowl with olive oil and place the dough back into the bowl. Cover and proof at room temperature for about 3 hours. It should have risen about 50% and be smooth and rounded on the edges.
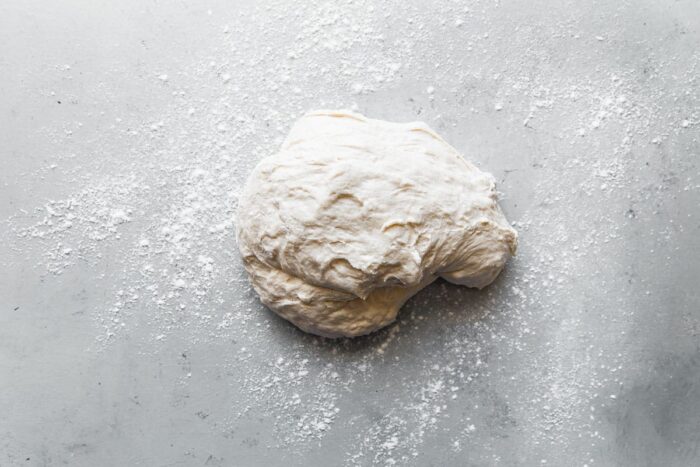
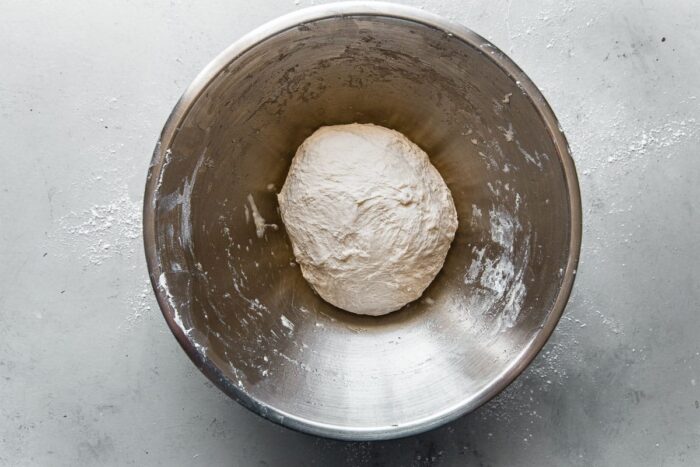
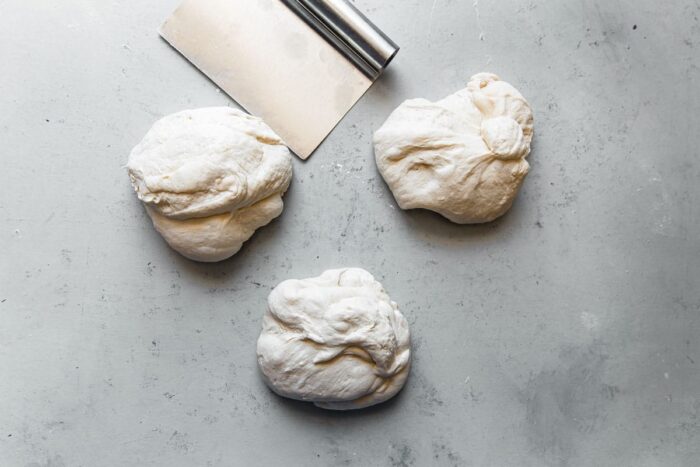
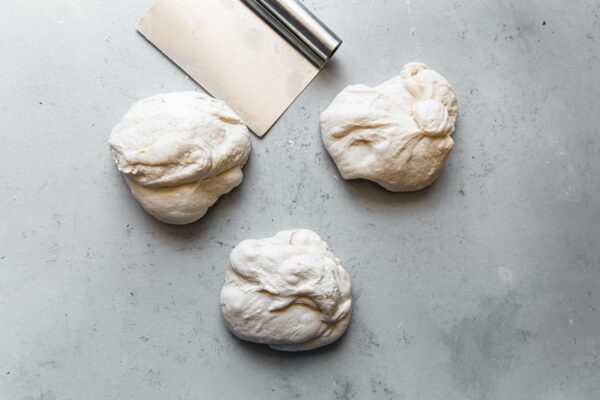
Step 4: Transfer the dough to a clean countertop. Using a bench knife, divide the dough into three equal pieces (roughly 280 grams each).
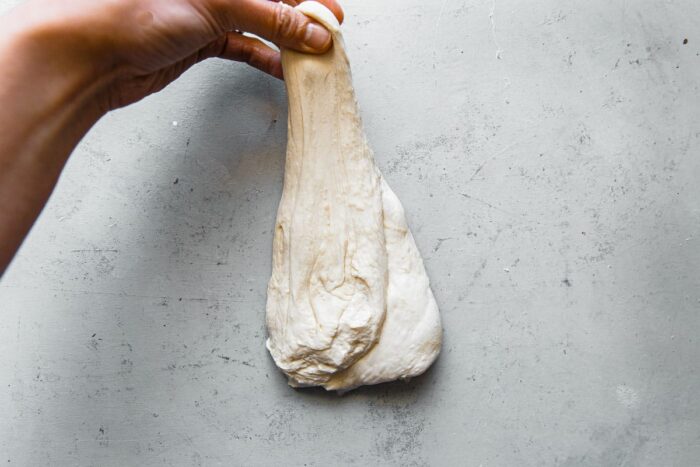
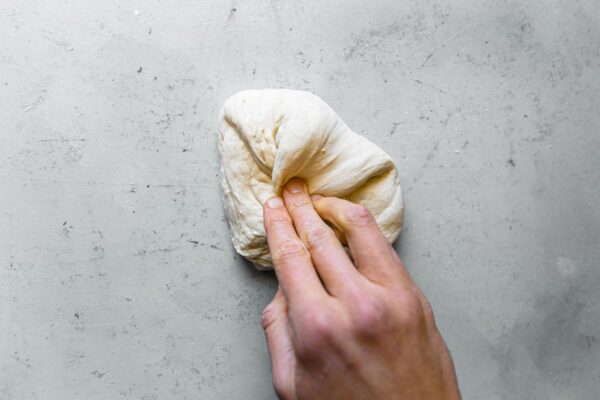
Step 5: Shape the pizza dough pieces into balls. Working with one piece of dough at a time, grab the top portion of dough, stretch upwards, then fold back into the center. Repeat from the opposite edge. Continue along the outer edges of the dough, folding them back into the center to form a tightly seamed package.
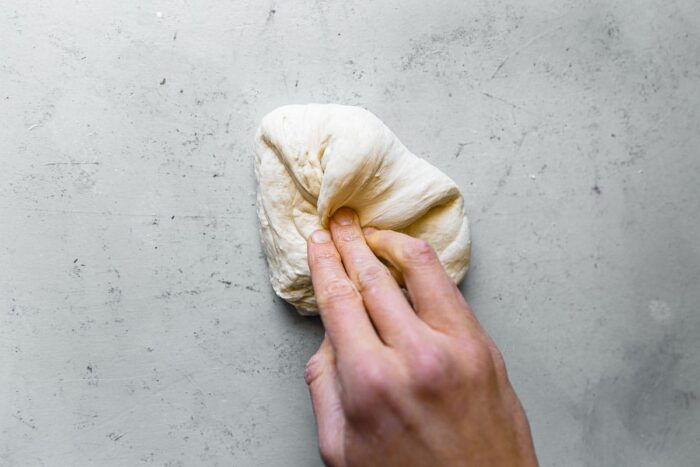
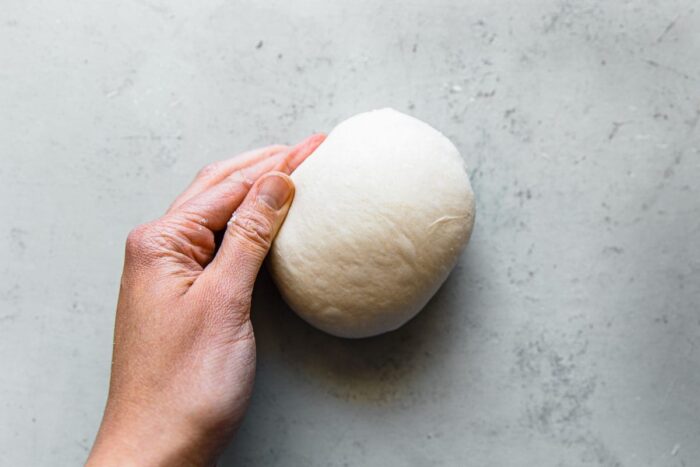
Step 6: Flip the dough seam-side down and use your hands to gently shape into a round, using the countertop to build tension into the surface of the dough. Repeat with the remaining dough pieces.
Transfer the dough balls into a flour dusted proofing box (or rectangular pan with lid or large plate), setting them apart. Dust with flour. Cover and rest at room temperature for a minimum of 5 to 6 hours or until ready to assemble or bake pizza that evening. The dough will hold for 3 to 4 additional hours after proofing.
See full recipe and notes for make-ahead instructions.
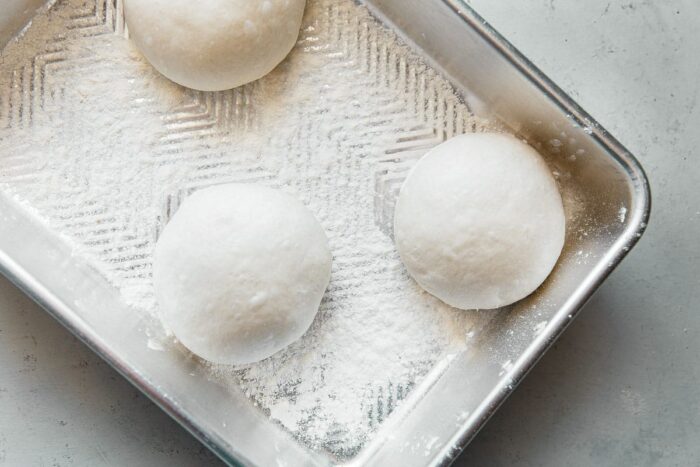
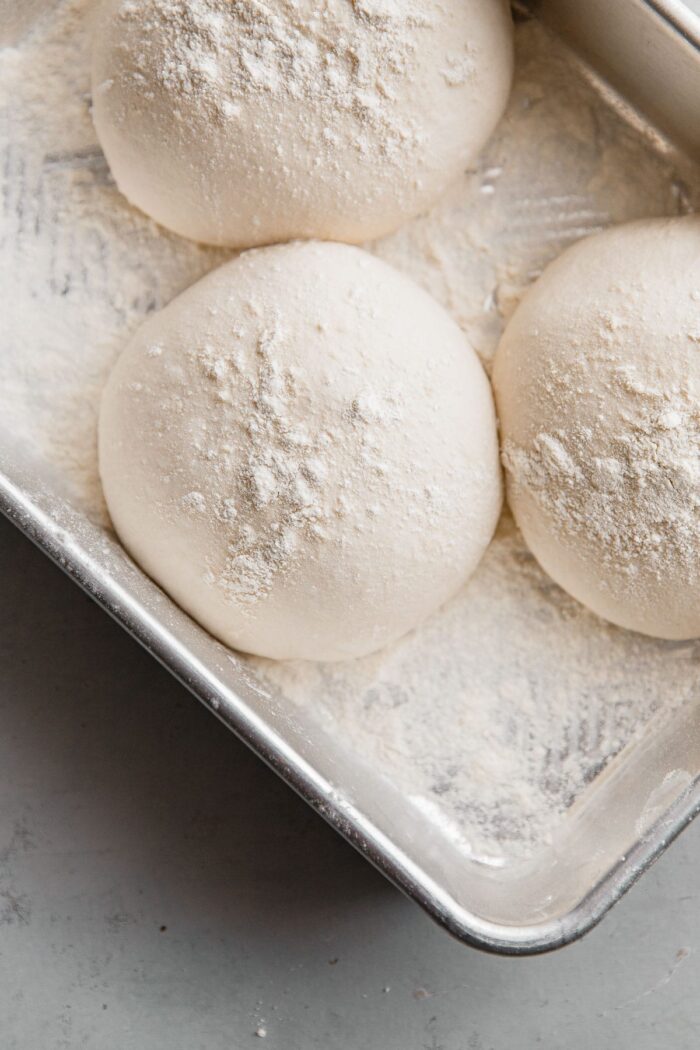
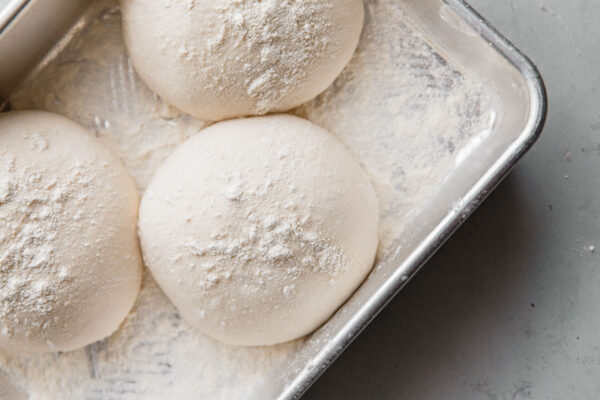
Step 7: After the final proof, the dough balls should have expanded considerably – they will most likely be touching – and nearly doubled in size. Shape and bake using the instructions and recipe below.
How to Shape and Make Sourdough Pizza:
Once you’ve prepared the sourdough pizza dough, it’s time to make pizza!
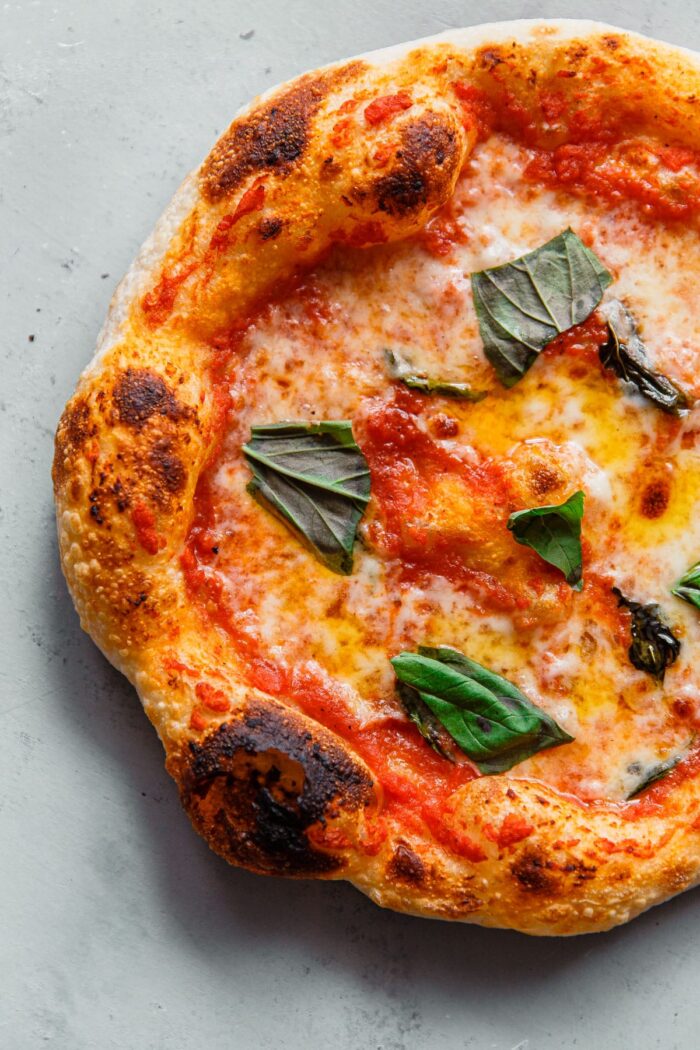
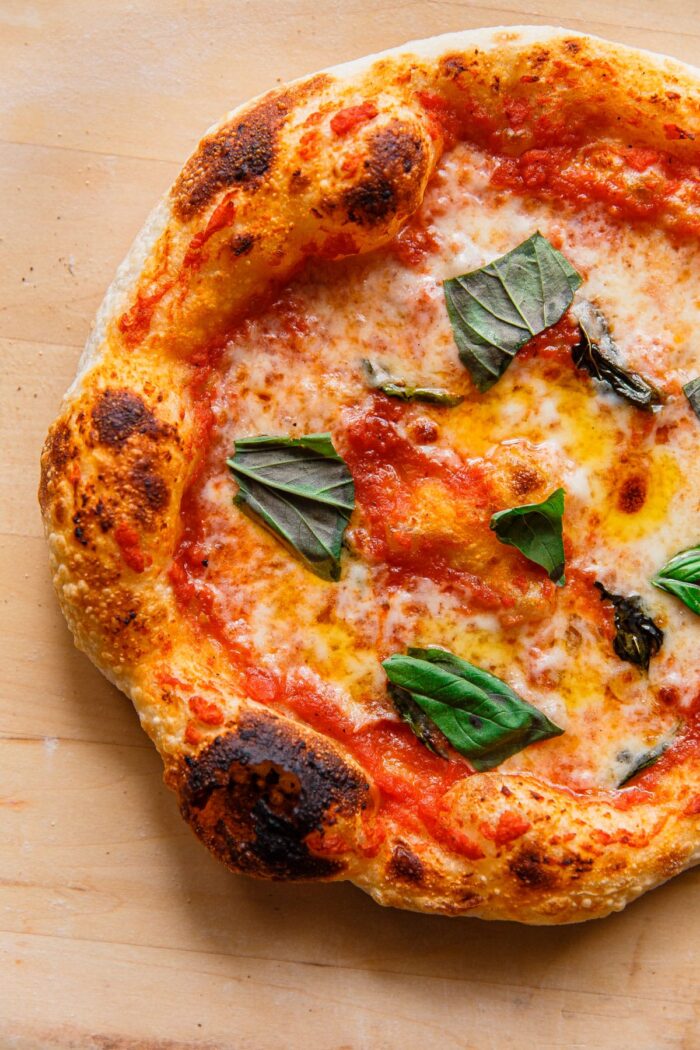
To make a Margherita-style pizza, you’ll need only a handful of ingredients: homemade pizza sauce, fresh mozzarella cheese, fresh basil, and extra virgin olive oil. This produces a classic pizza, which is absolutely irresistible.
For additional guidance on shaping pizza dough, watch this quick step-by-step video series.
Step 1: Set a baking steel on a rack in the upper third of the oven, roughly 6 to 7 inches below the broiler element. Preheat the oven and steel to 500°F (260°C) for at least one hour. Prepare the pizza sauce, toppings, and set out for easy assembly.
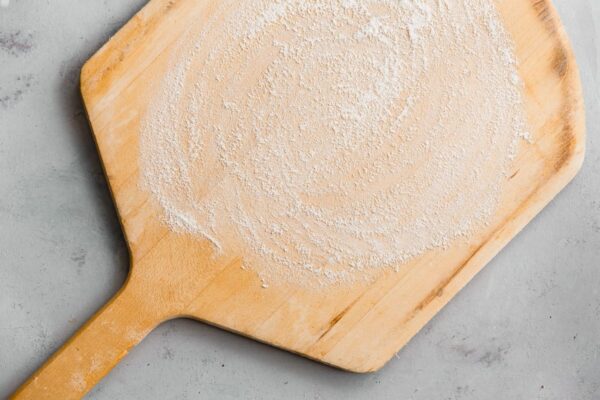
Step 2: Lightly dust a pizza peel with flour and sprinkle with semolina flour. This mixture will keep your dough from sticking and help with transferring. Use your hands to spread the mixture into a thin layer across the surface of the peel.
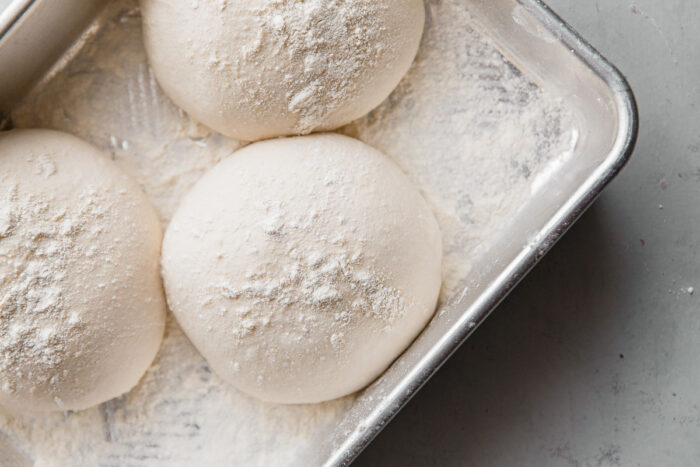
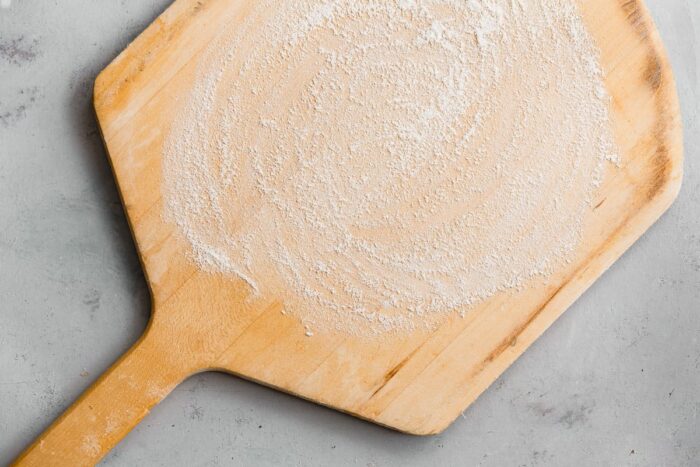
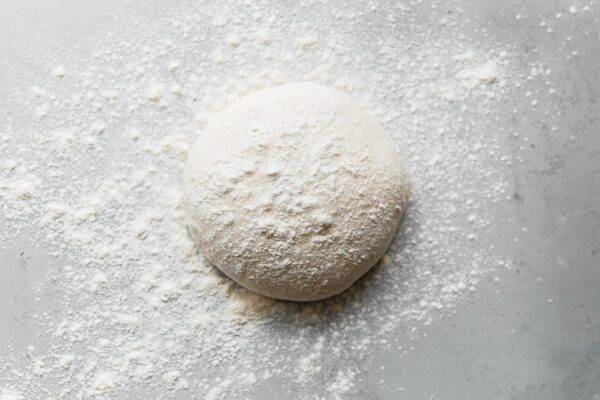
Step 3: Just before assembling pizza, turn the oven broiler to high for 10 minutes. This will blast your steel with an extra dose of heat. Generously sprinkle your countertop with flour. Carefully lift one pizza dough round from the proofing container (covering the remaining dough once again) and set on the flour. Dust the top with flour.
Step 4: Using both hands, press the dough with your fingers, starting from the center and pressing outwards toward the edges, rotating the dough as you go while maintaining the edges.
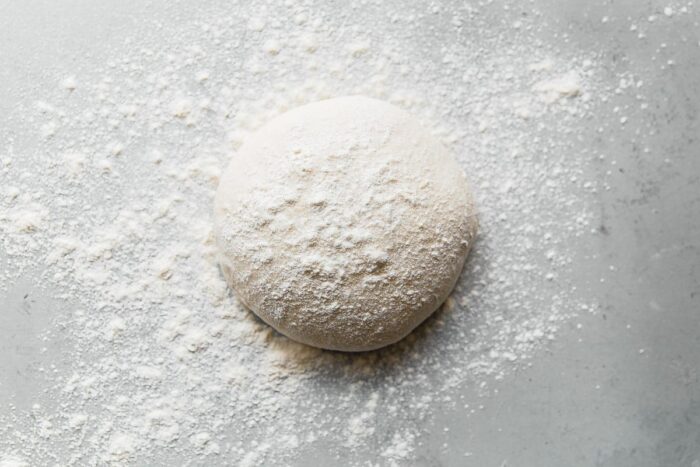
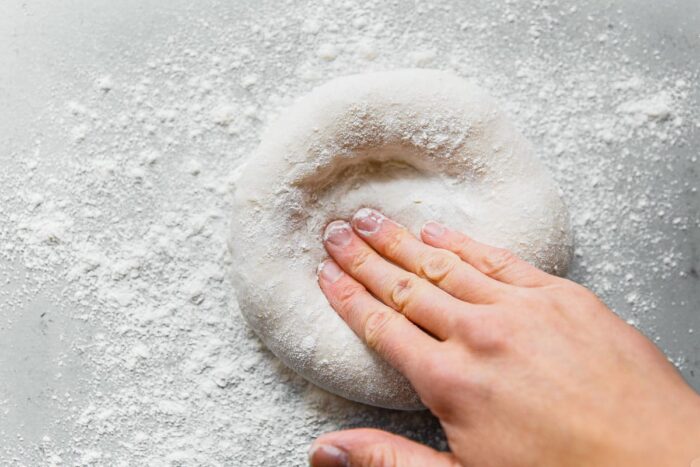
Step 5: Once the disc is about 6 to 7 inches in diameter, lift the dough with both hands, allowing the center of the dough to rest on your knuckles. Gently stretch the dough by pushing your knuckles outwards, rotating the dough continuously, while maintaining the rounded edges of the crust. Allow the outer edges of the dough to hang off your hands, allowing gravity to help stretch the dough into a thin disc, roughly 10-inches in diameter. Gently transfer the dough onto the dusted pizza peel.
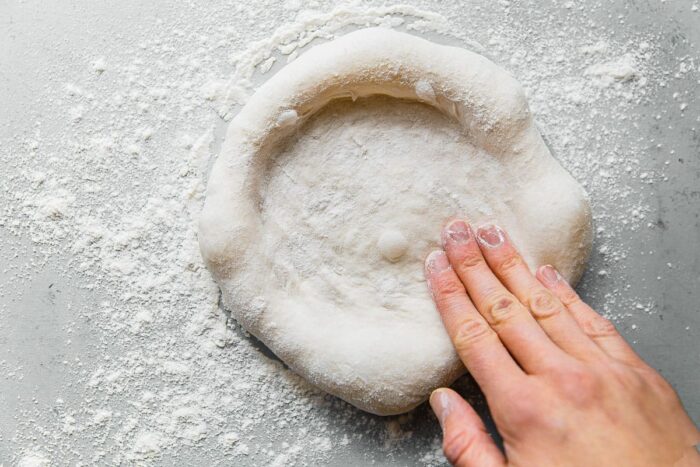
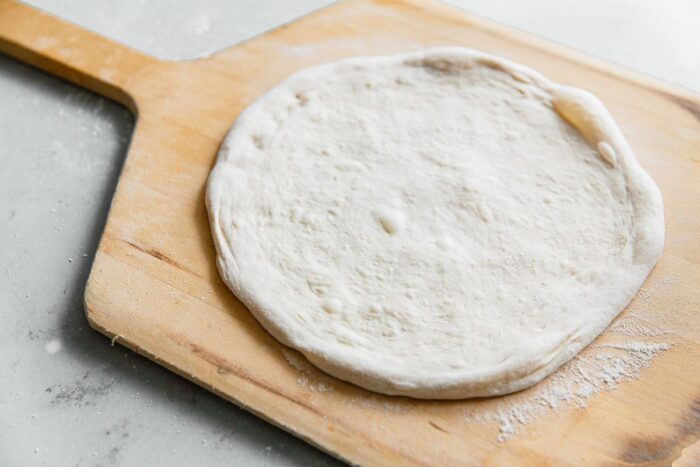
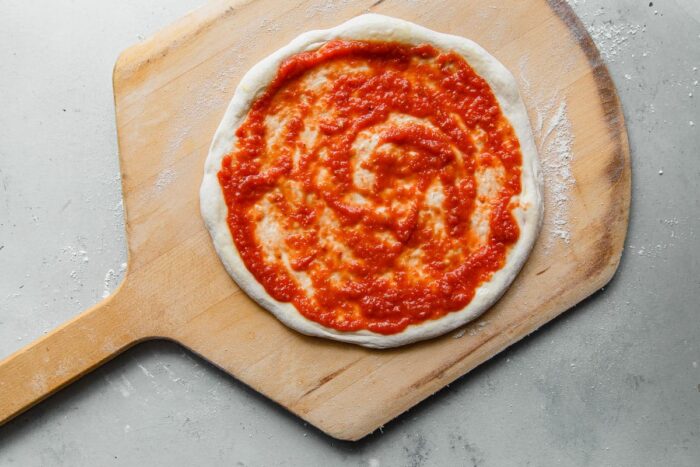
Step 6: Drizzle the surface of the dough with extra virgin olive oil. Use your hands to brush it over the surface of the dough, concentrating on the edges. Spoon roughly ⅓ to ½ cup of pizza sauce in the center. Use the back of a spoon to spread the sauce into an even thin layer, leaving a ¾-inch border on all sides.
Step 7: Distribute torn mozzarella pieces (roughly ⅓ of the 8-ounce mozzarella ball) over the sauce and top with several torn basil leaves.
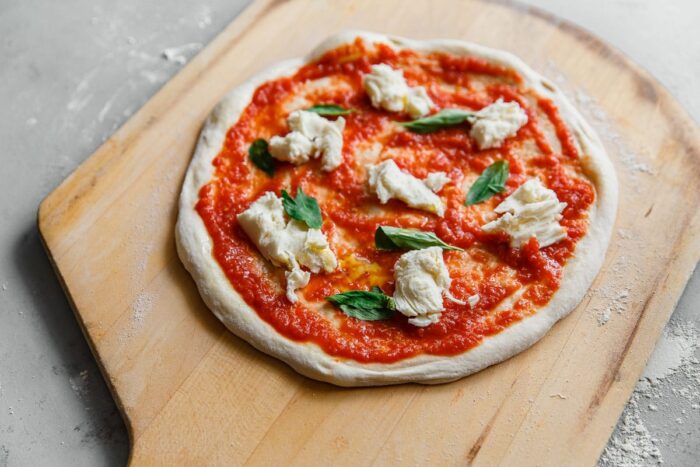
Step 8: Transfer the pizza onto the hot baking steel. Immediately turn off the broiler and set the oven to 500°F (260°C). Cook the pizza for 4 to 5 minutes, rotating it on the steel once or twice if needed, or until the bottom is crisp and lightly spotted. Finish the pizza under the broiler, watching carefully, or until the edges of the crust have gained color.
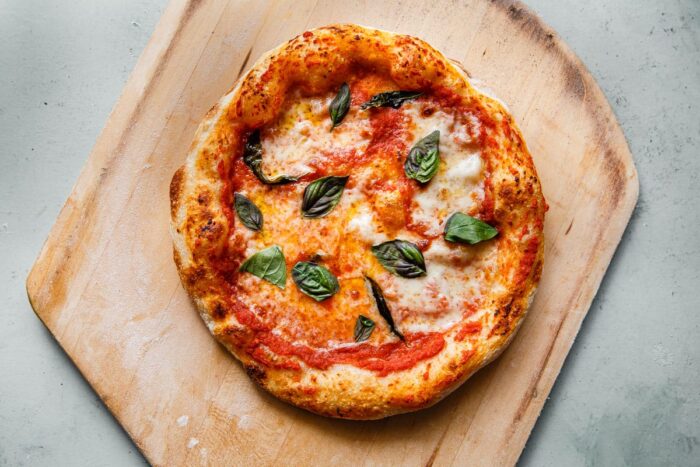
Step 9: Remove from the oven, place on a wooden cutting board. Lightly drizzle with extra virgin olive oil, fresh basil leaves, and freshly grated parmigiano-reggiano cheese (if desired). Cut into quarters and serve immediately.
Set the oven back to temperature and repeat with the remaining pizza dough, assembling and baking each pizza before serving.
Pizza Topping Variations:
Use the classic pizza topping formula below, including our favorite pizza sauce, as a base and mix up the toppings as desired.
Personal Favorites: Calabrian chiles, roasted mushrooms, anchovies, Calabrese salami, kalamata olives, and fresh arugula, just to name a few. Or use sourdough pizza dough to elevate this mushroom pizza or lemon truffle arugula pizza.
Sourdough Pizza Dough
Ingredients
Sourdough Pizza Dough:
- 225 grams 90°F-95°F filtered water (32°C-35°C)
- 15 grams kosher salt
- 250 grams ripe sourdough starter 100% hydration
- 250 grams type "00" flour plus more for dusting, I've tested this with Central Milling extensively, but Caputo brand is another good option (see notes)
- 125 grams bread flour such as King Arthur
Assembly and Toppings (For Three 10-Inch Margherita-Style Pizzas):
- flour for shaping and dusting
- semolina flour for dusting
- extra virgin olive oil for drizzling
- 1 batch homemade pizza sauce (see recipe linked)
- 8 ounces fresh mozzarella cheese, not packed in water blotted dry and torn into pieces
- fresh basil leaves plus more for finishing
- parmigiano-reggiano cheese optional
Instructions
Prepare the Sourdough Pizza Dough:
- Important Note: Please note that this sourdough pizza dough recipe requires a large quantity (250 g) of ripe sourdough starter. Scale up the previous night's feeding so the starter is ready in the morning. See the example baking timeline in the note section below.
- In a large mixing bowl, combine the water and salt. Use your fingers to swirl the mixture together until the salt has completely dissolved. Add the ripe sourdough starter.
- Using your fingers, pinch the mixture together, distributing and breaking up the starter into small pieces throughout the water.
- Add the "00" and bread flour to the bowl. Using a Danish dough whisk or your hands, mix until the dough comes together and no dry clumps remain. The dough will be shaggy. Cover and rest at room temperature (72°F/22°C) for 20 minutes.
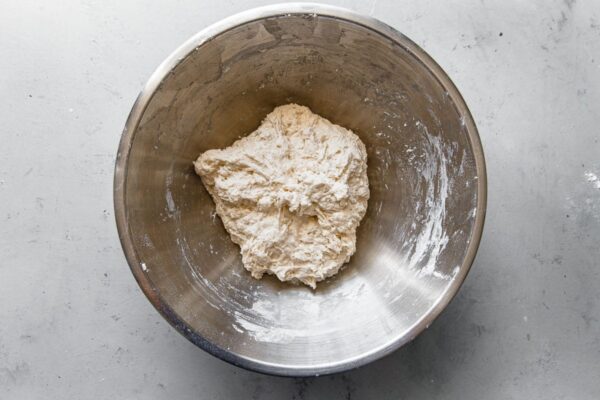
- Transfer the dough onto a lightly floured countertop. Knead the dough for one minute, dusting it lightly once or twice with flour if needed to prevent it from sticking. The dough should be tacky, but very smooth. Lightly coat the mixing bowl with olive oil, lightly shape the dough into a round, and transfer to the greased bowl. Cover and proof at room temperature (72°F/22°C) for about 3 hours. The dough shoud have risen at least 50% and be rounded on the edges.
- Transfer the dough onto a clean countertop. Using a bench knife, divide the dough into three equal-sized pieces (roughly 280 grams each).
- Shape the Dough Pieces into Rounds: Shape the pizza dough pieces into balls. Working with one piece of dough at a time, grab the top portion of dough, stretch upwards, then fold back into the center. Repeat from the opposite edge. Continue along the outer edges of the dough, folding them back into the center to form a tightly seamed package. Flip the dough seam-side down and use your hands to gently shape into a round, using the countertop to build tension into the surface. Repeat with the remaining dough pieces.
- Transfer the dough balls into a flour dusted proofing box (or rectangular pan with lid or large plate), setting them apart. Dust the tops with flour. Cover and proof at room temperature for a minimum of 5 to 6 hours or until ready to assemble or bake pizza that evening. The dough will hold for 3 to 4 additional hours after proofing. Make Ahead Instructions: Alternatively, shape and allow the dough balls to proof for 4 hours, then transfer to the refrigerator overnight. Remove from the fridge and allow the dough to rest at room temperature (72°F/22°C) for 2 to 3 hours before using.
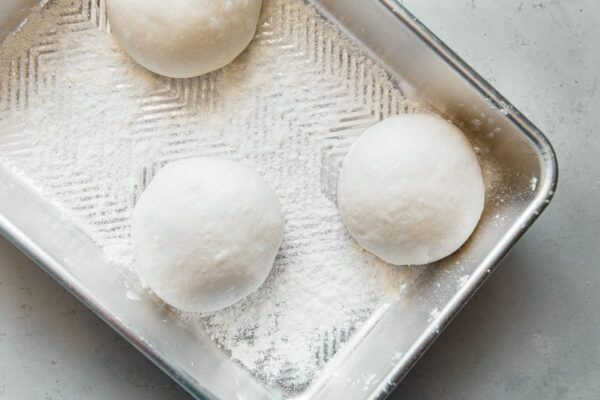
- After the final proof, the dough balls should have expanded considerably, nearly doubling in size. Shape and bake using the instructions below as a guide.
How to Shape and Bake Sourdough Pizzas (Margherita Style):
- Set a baking steel on a rack in the upper third of the oven, roughly 6 to 7 inches below the broiler element. Preheat the oven and steel to 500°F (260°C) for at least one hour. Prepare the pizza sauce, toppings, and set out for easy assembly.
- Lightly dust a wooden pizza peel with flour and sprinkle with semolina flour. Use your hands to spread the mixture into a thin layer across the surface. Set aside. This will keep your dough from sticking and help with transferring.
- Just before assembling pizza, turn the oven broiler to high for 10 minutes. This will blast your steel with an extra dose of heat. Generously sprinkle your countertop with flour. Carefully lift one pizza dough round from the proofing container (covering the remaining dough) and set on the flour. Dust the top with flour.
- Using both hands, press the dough with your fingers, starting from the center and pressing outwards toward the edges, rotating the dough as you go while maintaining the edges.
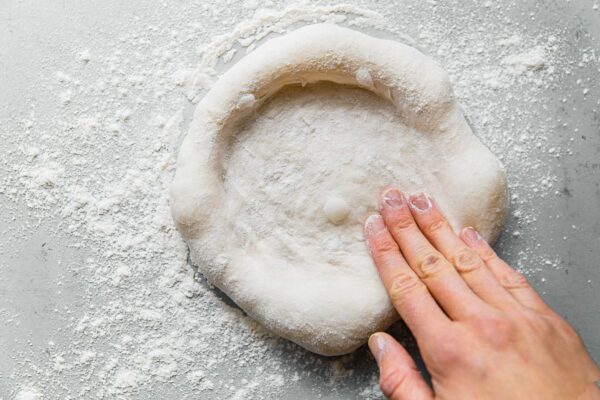
- Once the dough is roughly 6 to 7 inches in diameter, lift the dough with both hands, allowing the center of the dough to rest on your knuckles. Gently stretch the dough by pushing your knuckles outwards, rotating the dough continuously, while maintaining the slightly rounded edges. Allow the dough to hang off your hands slightly, allowing gravity to help stretch the dough into a thin roughly 10-inch disc. Gently transfer the dough onto the dusted pizza peel.
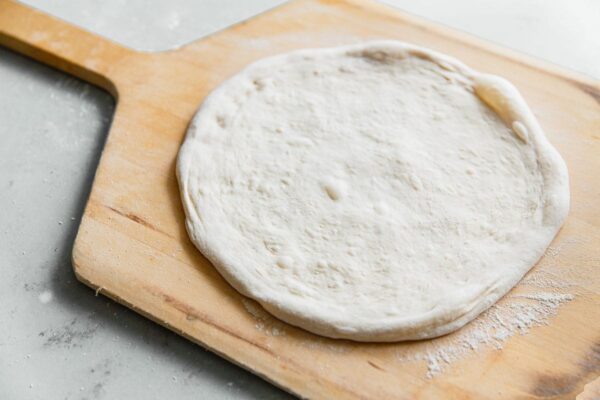
- Drizzle the surface of the dough with extra virgin olive oil. Use your hands to brush it over the surface, concentrating on the edges. Spoon roughly ⅓ to ½ cup of homemade pizza sauce into the center of dough. Use the back of a spoon to spread the sauce into an even thin layer, leaving a ¾-inch border on all sides.
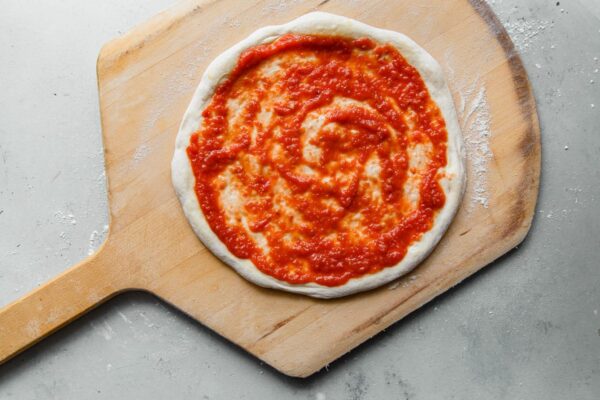
- Distribute torn mozzarella pieces (roughly ⅓ of the 8-ounce mozzarella ball) over the sauce and top with several torn basil leaves.
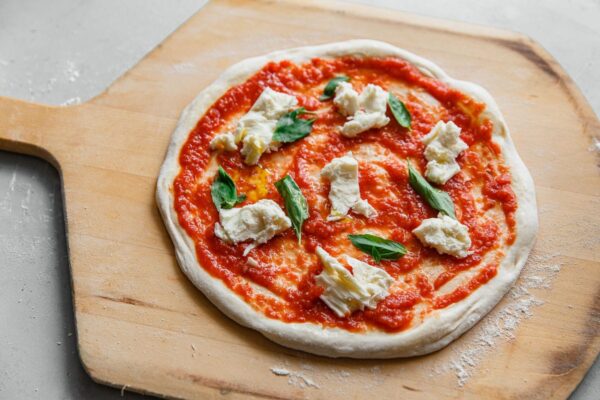
- Transfer the pizza onto the hot baking steel. Immediately turn off the broiler and set the oven to 500°F (260°C). Cook the pizza for 4 to 5 minutes, rotating it on the steel once or twice if needed, or until the bottom is crisp and lightly spotted. Finish the pizza under the broiler, watching carefully, or until the edges of the crust have gained color.
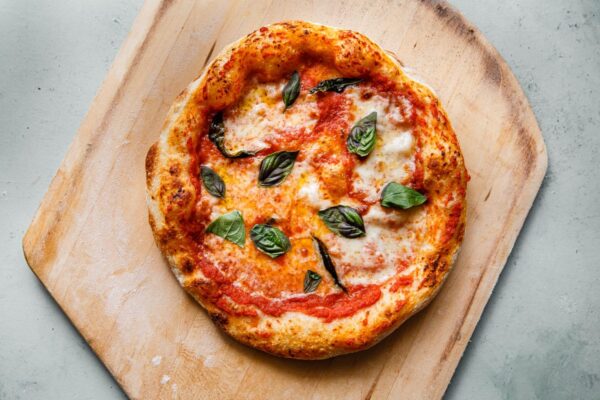
- Using the peel, remove from the oven and place on a wooden cutting board. Lightly drizzle with extra virgin olive oil, fresh basil leaves, and freshly grated parmigiano-reggiano cheese (if desired). Cut into quarters and serve immediately.
- Set the oven back to temperature and repeat with the remaining pizza dough, assembling and baking each pizza before serving.
Tips for Success:
- For added chewiness and crispiness (particularly if baking in a home oven), I’ve had more success with sourdough pizza dough made with almost equal amounts of traditional Type “00” flour and high-protein bread flour. This recipe has been tested extensively with Central Milling “00” Flour, but has also been prepared with Caputo (Italian brand). They do differ in protein levels, but both create great pizzas. For bread flour, I recommend King Arthur for similar results.
- This pizza dough can be prepped a day ahead. Follow the pizza dough instructions above, but only allow the dough balls to proof at room temperature for 3 to 4 hours. Transfer the container to the fridge and refrigerate overnight. Allow the dough to rest at room temperature (72°F/22°C) for at least 2 to 3 hours before using the following day.
Example Baking Timeline:
- Note: This sourdough pizza dough recipe requires a large quantity (250 g) of ripe sourdough starter. Scale up the previous night’s feeding, so a portion is ready to be used in the pizza dough.
- 9:00 AM – mix the pizza dough, cover and rest for 20 minutes.
- 9:20 AM – knead the dough briefly, cover and rest for 3 hours.
- 12:20 PM – shape the dough into pizza balls, place in a floured container, cover, and proof for at least 5 hours or until you’re ready to make pizza (they will hold for up to 4 additional hours if needed)
- 6:00 PM – preheat the oven and baking steel
- 7:00 PM – prepare your toppings
- 7:15 PM – assemble and bake pizza
78 Comments on “Sourdough Pizza Dough”
I mixed this dough in the morning and it is very sticky when I want to shape into 3 balls. Any thoughts on the stickiness?
I’ve never experienced a very sticky dough – it should be a little tacky perhaps and you’ll want to use a little flour, but shouldn’t leave residue on your hands or be a wet sticky. I haven’t heard this from others either. Did you make any changes with weight or flour type? Sometimes even the brand of flour can change things considerably. It’s also possible that if you live in a very humid environment, you might need to use more flour for dusting…
I’ve tried many different sourdough and not sourdough pizza crust recipes and have never really gotten the crispy, chewy crust I so desperately want so I’m trying your recipe tonight. Here’s my questions, I do not own a peel at this time what utensil would you recommend I use? and how would I get the pizza onto the hot stone that’s in the oven with ease and no third degree burns and a ride to the ER!!!?, Does it make that big of difference in the crust consistency and texture if I don’t preheat the stone? I always preheat my oven but not with the stone inside the oven. I build the pizza on a stone at room temp so I can get it into the oven. Will this ruin your pizza crust? It’s worked for me with my regular crust which turns out more like bready, roll dough pizza crust. It’s good but I’m looking to master the dough and get that chewy, airy, bubbly and a bit crispy crust like one you would get from a true Pizzaria. Thank you and please HELP! Any suggestions would be greatly appreciated! Sincerely, Desperately Seeking A, Chewy, Airy, Bubbly, Crispy Crust!!! 😉
Hi! You absolutely need to preheat the stone ahead of time, otherwise it will be colder than the rest of your oven and the pizza will be in worse shape than if you didn’t even own a stone. I recommend a steel if you can get one, but stone still works, just be careful depending on its thickness.
I would use the back of a rimmed sheet pan in a pinch, but a pizza peel is a tool that’s worthy of being invested in! It helps a LOT.
Thank you for the information. I use a stone all the time and my pizza turns out yummy every time.
My stone is over 25 years old and seasoned perfectly. It goes in the hot oven cold with a cold pizza on it and they turn out great the family loves them. The crust isn’t sourdough; it is homemade but doesn’t turn out like a true artisan crust does. The recipe for the pizza dough came in a cookbook that came along with my bread machine so, it doesn’t have the crispy artisan texture to it. I’ll try to get the pizza on the hot stone when I make them tonight. I’m doing calzone as well so it may be easier to get them on the hot stone with my hands and without any third-degree burns.!! I also read that you can put rice or semolina flour on a piece of parchment build your pizza and slide it off the parchment onto the stone or even just bake with the parchment right on the hot stone. Any thoughts on the parchment way. I ordered a peel from amazon yesterday. I live in the back woods of Montana so I should have in hand in about two weeks. Thank goodness a peel wont melt! Got an order yesterday that had chocolate covered candies in it, they didn’t survive the journey! Thank you so much for your time.